Have you ever gone on a business trip only to find your hotel has a slow internet connection? Or maybe a storm prevented you from connecting to wifi when you needed to finish an important video project.
The ability to edit videos without internet access is a big help for businesses of all kinds.
Just ask ScreenPal user Jesus Sosa, an English instructor, moderator, and head of the Department of English at the Universidad de Los Andes in Venezuela.
Sosa said that internet access isn’t reliable in some parts of Venezuela.
“Internet issues are a serious thing,” he said. “Most of the day, the internet just doesn’t work.”
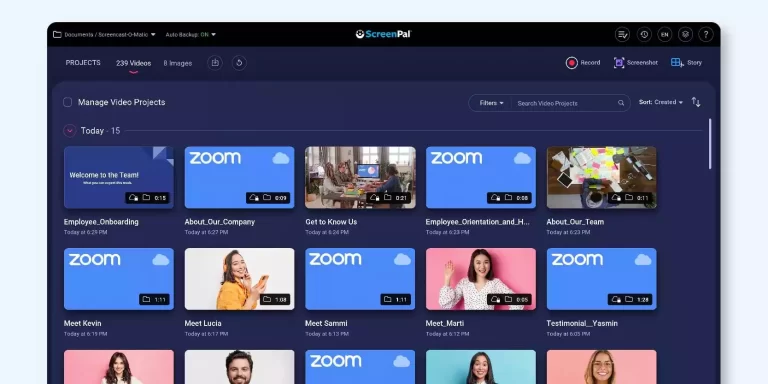
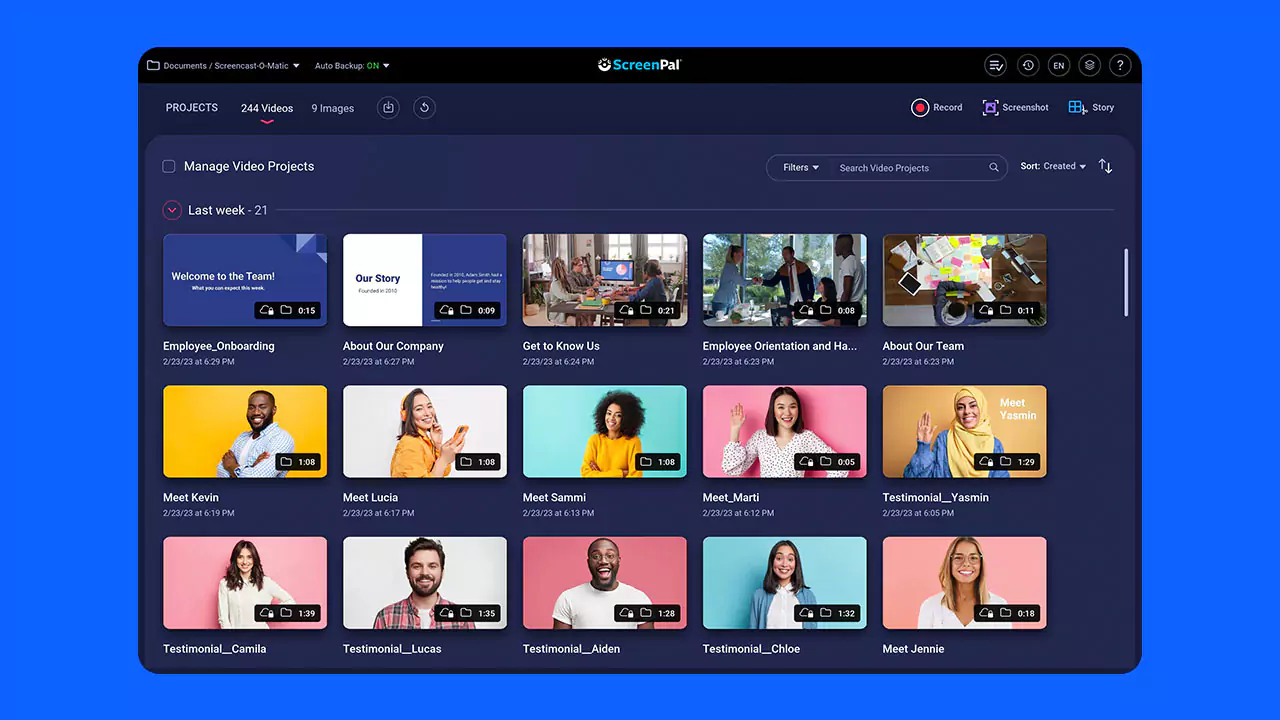
To deal with situations like these, ScreenPal has a full download installation so users like Sosa can create videos with or without online access.
Big Benefits For Working Offline
Being able to work offline helps businesses in several important ways. From power outages to travel days, it’s common for a finicky connection to keep employees from completing projects on time.
Luckily, teams that use a video creation platform with offline capability enjoy big benefits such as:
It saves you time. Get to work instantly. You no longer need to sit around frustrated about a poor connection. You’ll experience short loading times, and minimal delays with an offline video creation platform like ScreenPal.
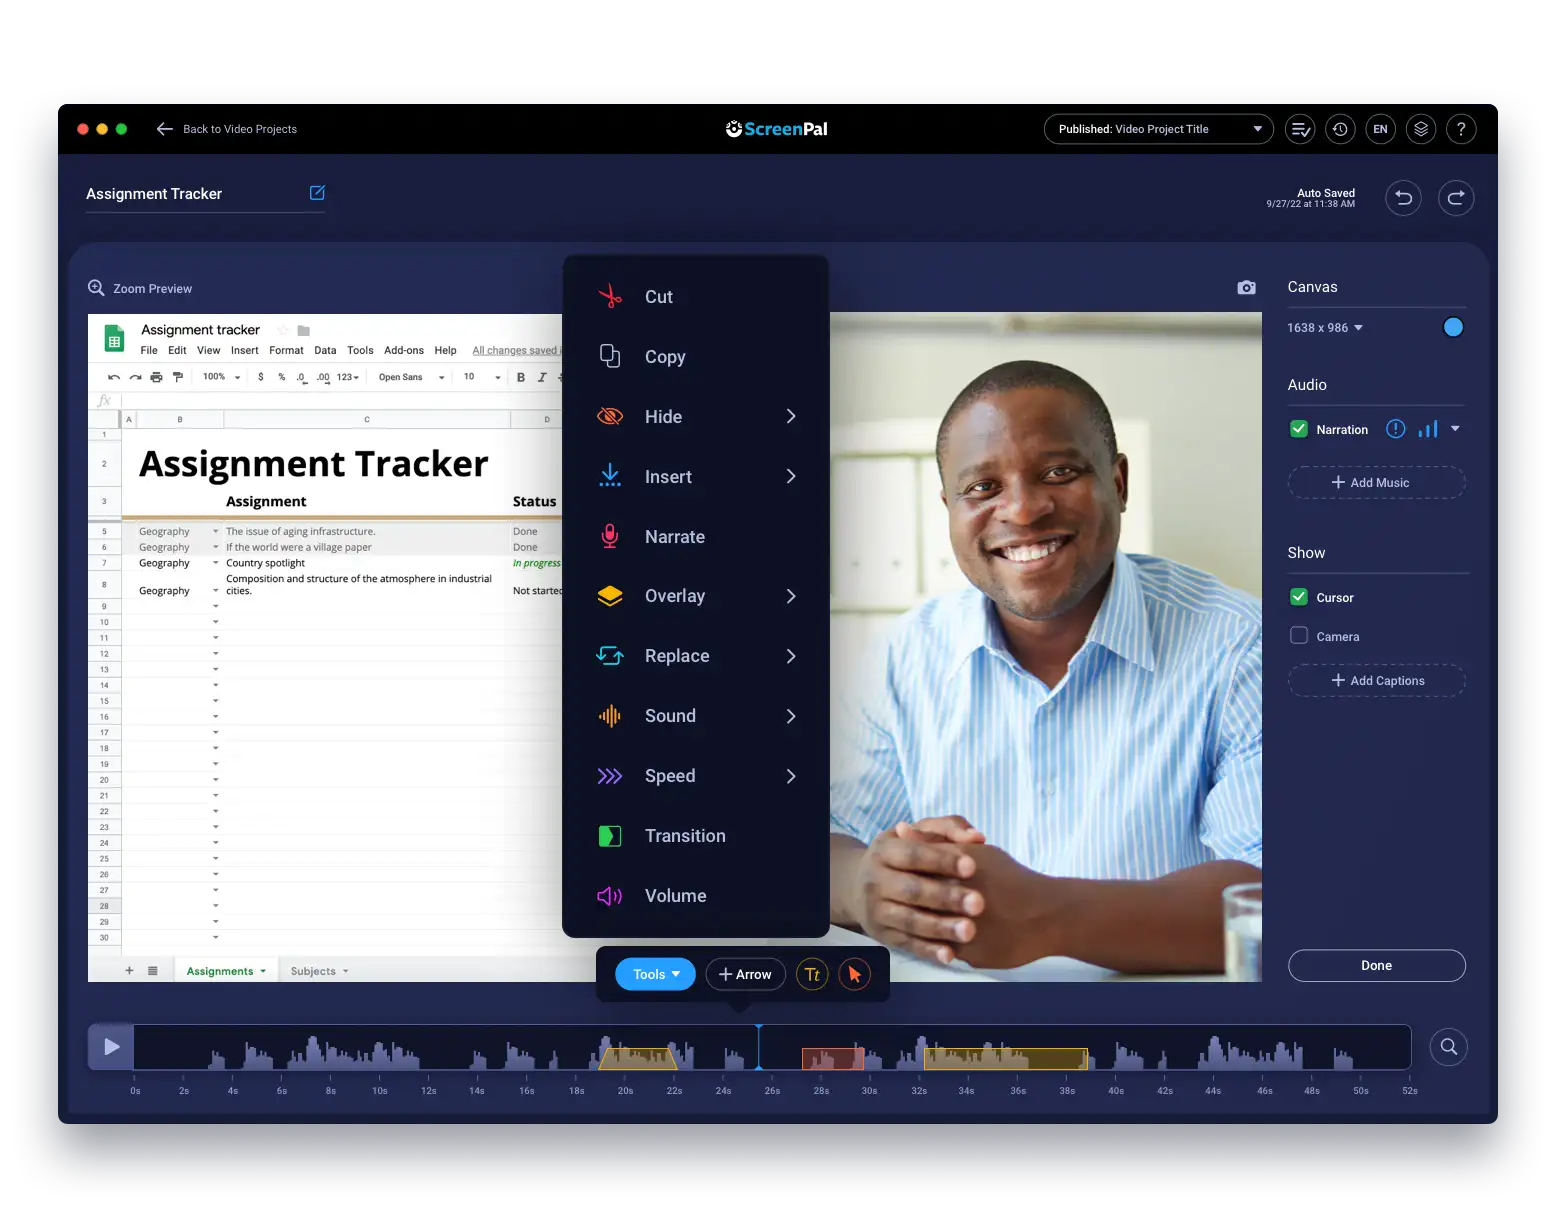
You’ll get a higher quality video. When your team isn’t stressed about lost time and frequent roadblocks, they’ll have the energy and enthusiasm they need to create their best work. Plus, ScreenPal’s Video Editor offers a robust set of video making tools. You can mix and match content from multiple devices then edit in overlays like text, images, highlights and more.
Your computer will have more battery life. Devices use up a lot of power searching for a wifi connection. If you can work offline, you’ll save that power for your videos instead.
Offline video platforms are rare. Not many video creation platforms are available offline, and it’s not easy to find a new one on short notice (especially if your internet is down). Your staff will be able to minimize downtime if they’re equipped with ScreenPal before they have internet trouble.
Start Working Offline With ScreenPal
 It’s easy to start working offline. All you need to do is download the installation to your computer. You can download ScreenPal by heading to your account page and clicking on the a launch icon the upper-right hand corner.
Once it’s downloaded, you can click on the ScreenPal icon to begin creating videos. Users have full access to the screen recorder. You can record your screen or webcam without internet access.
Users can also enhance their videos with the video editor. You can be as creative as you want with your videos. As a Deluxe user, you have full access to the video editor and all of its tools and features.
Once you are done editing, you can save the video directly to your device. When you are back online, you’ll be able to save and upload anywhere you like including social websites, Google Drive, Vimeo, and more.
Connectivity issues are frustrating for everyone, but there’s no need for your video production workflow to stop due to a bad internet signal. Work offline with ScreenPal so you’ll be prepared for whatever comes your way.


