How do you hold the attention of a tech-obsessed generation? With tech, of course! Check out these easy-to-use edtech tools for your classroom.
You probably know from your own experience that edtech can be a great help in engaging your students. But did you know that the research backs it up? According to a review of more than 100 studies on educational technology released by MIT’s Poverty Action Lab, incorporating technology or tech tools into the classroom shows great promise.
These studies suggest that the use of educational software, in conjunction with traditional classroom teaching methods, encourages students to improve outcomes. The authors suggest this could be because it allows for more easily modifiable assignments, self-paced learning, consistent feedback, and other advantages.
Those same advantages can be utilized by these 8 easy-to-use edtech tools. Read on to learn how.
1. Explore Google’s Edtech Tools for the Classroom
Google Classroom is a great tool for students that actually includes many types of technology to be used in your lessons. It is really worth taking the time to explore it.
On your account, you can add each of your classes and allow your students to easily join and access the material you post. This gives educators an advantage in lesson planning. You may choose to post a slides presentation for the day’s lesson or other reference material, supplemental resources like videos and articles, and assignments.
When assignments are posted, students work to complete and submit them in the virtual classroom. You can then review their work, add comment and corrections, and assign a grade. This can be a great tool for group or individual work done in or outside of the classroom.
2. Break from the Ordinary with Slide Alternatives
Try using an alternative to ordinary slides like PowerPoint. There are many out there. You’ll be surprised how well simply using a different format for the presentation can help get your students engaged, with just the slightest additional effort on your part.
For example, Prezi is a great alternative to creating your slide presentations. You can present images and text just like you do in your PowerPoint slides, you can even copy and paste that content right over from the slides you made last year.
The difference is that instead of the typical slideshow, each “slide” of your presentation is part of one large tapestry. When flipping to each slide the visual on screen zooms in, or out, and focuses on the new content, giving much more interesting and captivating transitions.
3. Use A Screen Recorder
You can record your slide presentations or class lessons using a screen recorder. If you have your audio narration or webcam on your slideshow, you’ll be able to provide emphasis on certain points of your slides. This will help students stay engaged in the content you are presenting.
Offering supplemental material online can be a great way to help your students prepare from home. This is a perfect time for using a video to enhance your reference material. With a screen recorder you can select any part or all of your screen to record and then share with your students. ScreenPal offers a free screen recorder to help educators create quick screencasts for their classroom.
Take it a step further and enhance video and images with your own additions. You can enhance your screencasts and add text and images, animations and more!
4. Tailor Video Content with a Video Editor
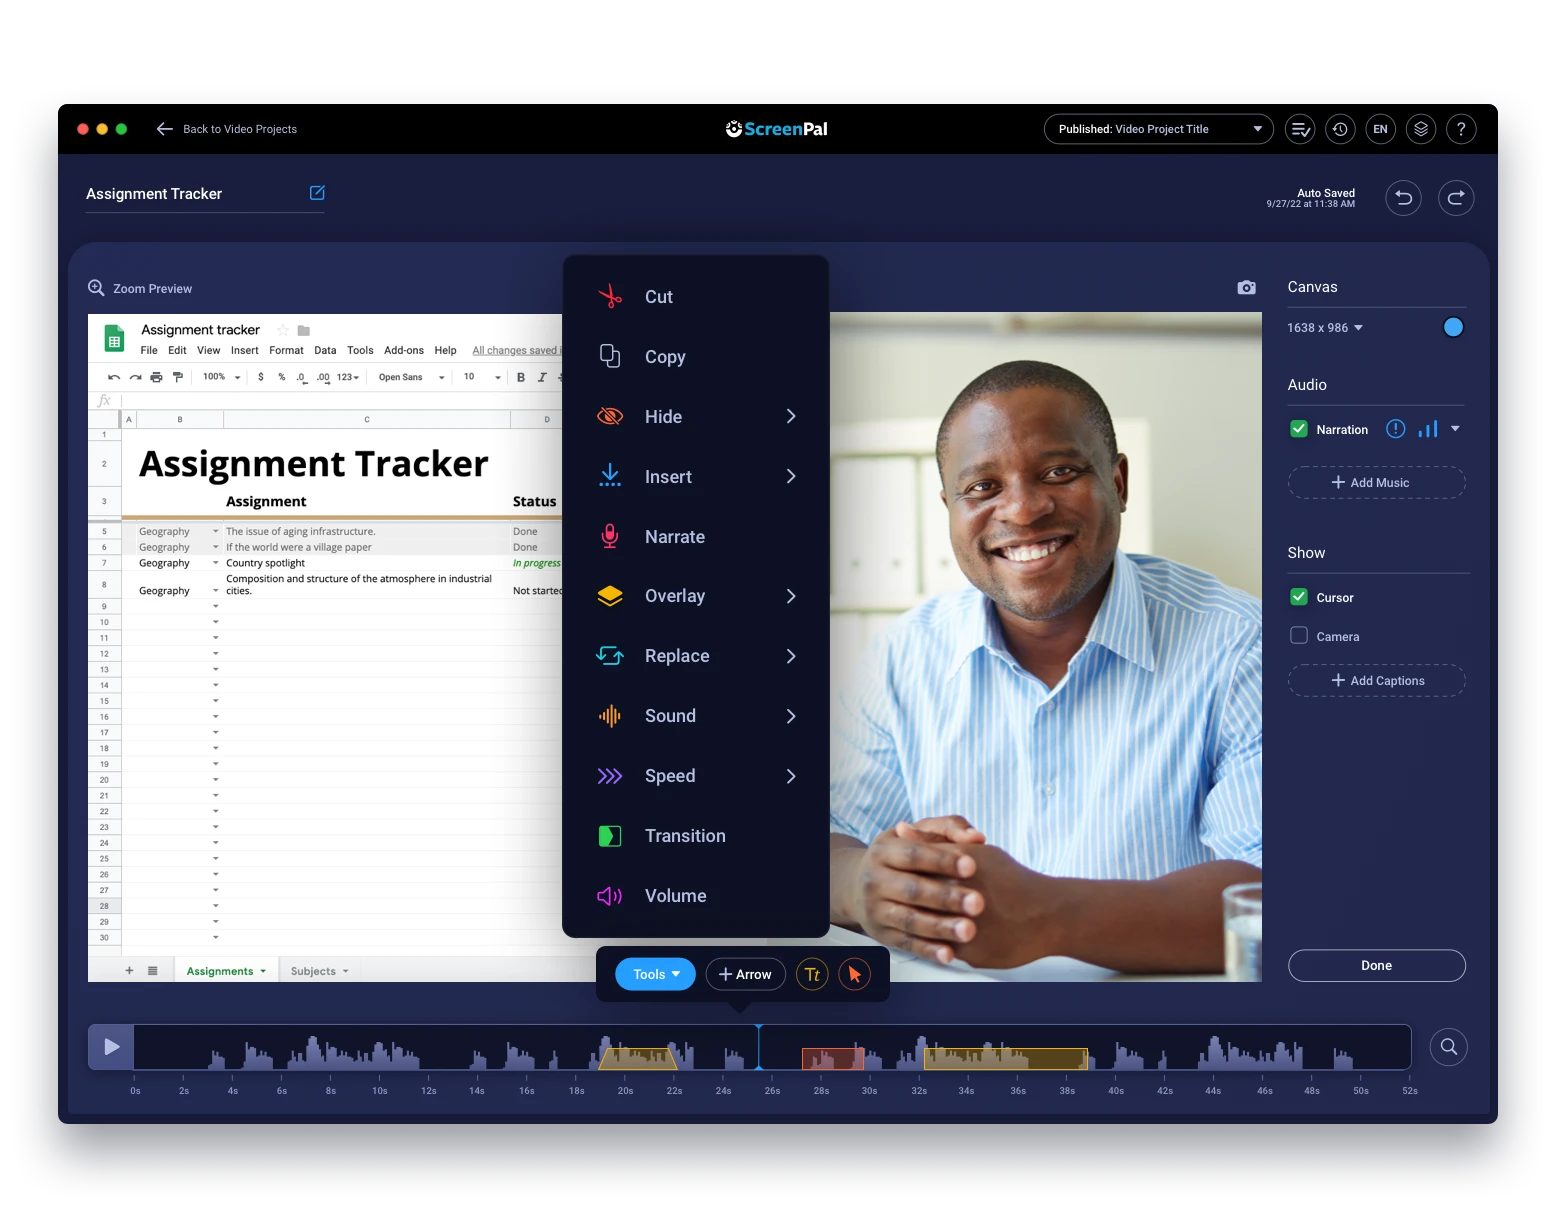
What a great way to easily enhance your screencasts with a video editor. It offers more options for overlaying audio and visuals, and adding effects. ScreenPal makes it easy for educators to add overlays and effects with an intuitive video editor.
Overlays can include:
- Audio like music, voice recording, and other sound effects
- Still images
- Video
- Graphics like arrows and circles
Effects can include:
- Highlighting and blurring sections
- Changing colors
- Zooming in and out
- Speeding up and slowing down sections of the video
- Creating transitions
Also keep in mind that you can, of course, use these tools for in-class use as well as reference material. Pick and choose the features that will be useful for customizing a video that you’ll be sharing during a lesson.
5. Try Making the Video and the Assignment into One Thing
This is another way you can use video customization in your lessons. With tools like ScreenPal quizzing, you can turn any video into an interactive online assignment.
Depending on the technology available for students in your classroom, you may be able to incorporate this kind of assignment as classwork, or homework. You can add any video and pose questions throughout it to make sure they understand the topic. The video will continue playing once the student has submitted their answer.
If students are completing this assignment in class, you can monitor signs of progress and review responses in real time and give them feedback as they work. Use our data analytics to aggregate class data or view individual results.
6. Make the Practice Quiz and Content Review Into a Game
Games like Quizizz and Kahoot are essentially multiple-choice trivia games for students. They’re perfect for the day before a big test.
Choose from available quizzes, premade by other teachers, or create your own. Students can play solo or in teams. Once all answers are locked in, the results are shown. A display shows a percentage of students that chose each answer, which gives you a perfect chance to call on a student to explain to the class why B was the correct answer.
Once your students get used to how it works, add something new to the mix: extra credit for students who make their own quiz. Then use the best ones to review for midterm and final exams.
7. Wouldn’t It Be Nice if You Could Call On Every Student for Every Question?
Okay, sometimes that would just be a nightmare, but other times it really is ideal: as a “do now” and “exit slip” for example.
With Plickers and similar apps, it’s not just possible to get a response from every student, it’s actually quick, easy, and a great source of data.
To use this tool:
- You’ve printed and distributed a unique QR code (a 2D barcode) for each student.
- Give the class a multiple choice question with four or fewer answer options.
- Students hold up their QR code with side A, B, C, or D facing the top to select their answer.
- Simply give the room a quick scan with your phone’s camera and each student’s answer is registered and stored in your account online.
- Results are available for you immediately.
Yes, it really works. And yes, it really is that easy. Now imagine what you can do with that.
8. Make Grading Easier and Give Feedback Instantly
There’s no need to run bubble sheets through your scantron machine at the end of the day.
Try using an app like Zipgrade instead.
You can scan answer sheet right there in class and give students feedback instantly. All you need is the printed bubble sheet for your students and a smartphone. Also, the results are automatically stored in your account, online for your reference. Certain data analysis is even done for you. Such as the most common correct and incorrect answers.
See where your students are struggling most to see where to focus your review.
Keep the Ball Rolling
You’re off to a great start. Explore these 8 tools further but then keep on learning about new and different ways to bring edtech tools into your classroom.