


Chromebook video editor
Designed for learning and communication, our free Chromebook video creation and editing app allows you to create and personalize videos with ease. Record your screen, webcam, or import videos. Then, use our video editor to inspire and delight.

All-in-one video creation for Chromebook
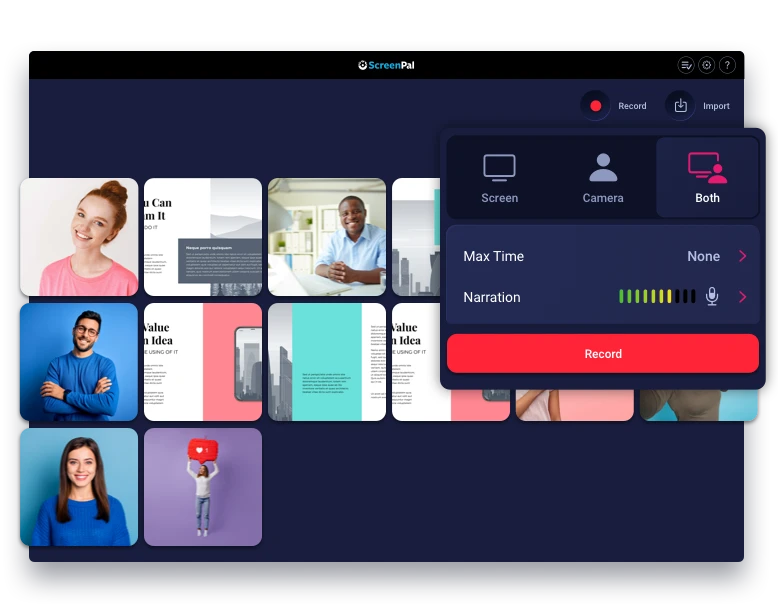
Flexible video creation
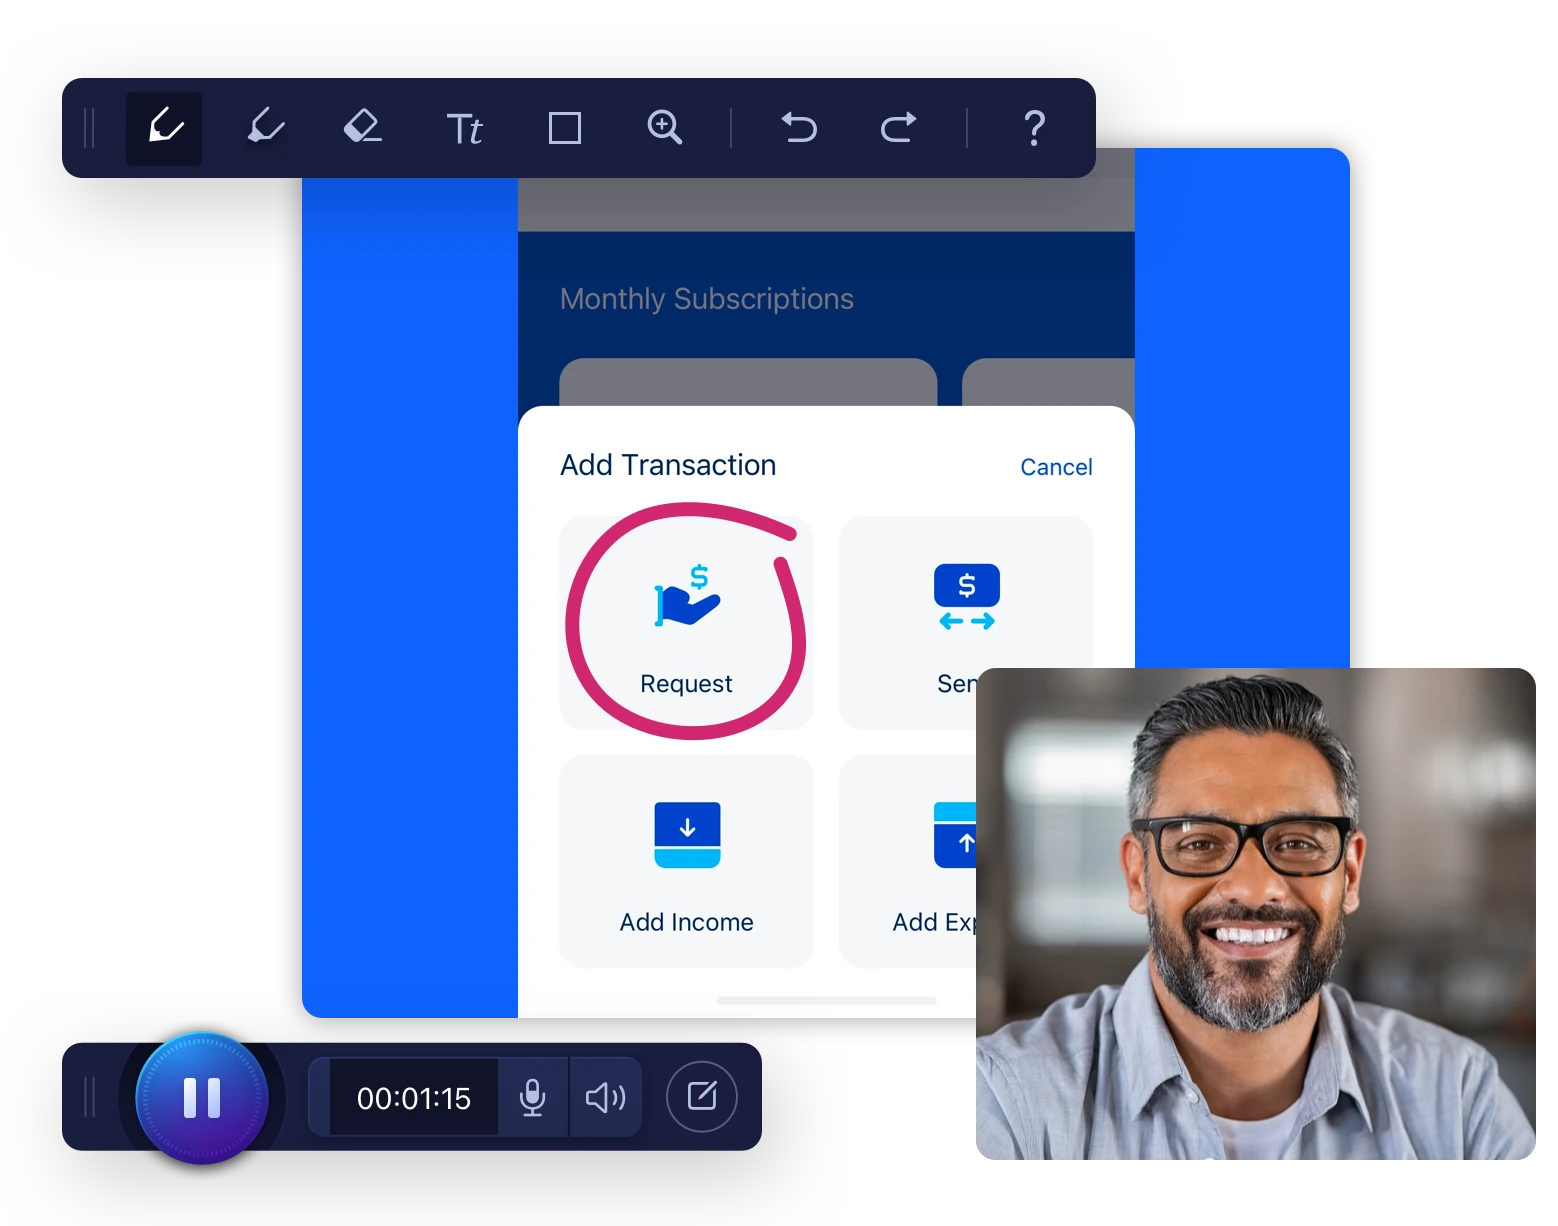
Video editing, like magic
featuring many of the powerful tools of our award winning free video editor
 Add music
Import your music or explore our hand-picked stock library to set the tone for your video.
 Stock library
Explore images and videos in our stock library to enhance your videos.
 Blur overlay
Need to blur sensitive information? It’s easy! Control when the blur appears and intensity.
 Text overlay
Add rich text to your videos. Choose from a selection of fonts and easy color palette.
 Video filters
Add pre-set filters to stylize and add mood to your videos.
 Add stickers
Check out stickers in our overlay library! Add shapes, emoticons, interaction icons, and frames.
 Cut & trim
Awkward start? Easily cut and trim your videos. Make multiple cuts, anywhere in the timeline.
 Crop for social
Customize the crop for your video, or choose from presets for social video sharing.
 Narration
Add your audio narration to your finished or imported videos in the editing app.
Manage & share videos
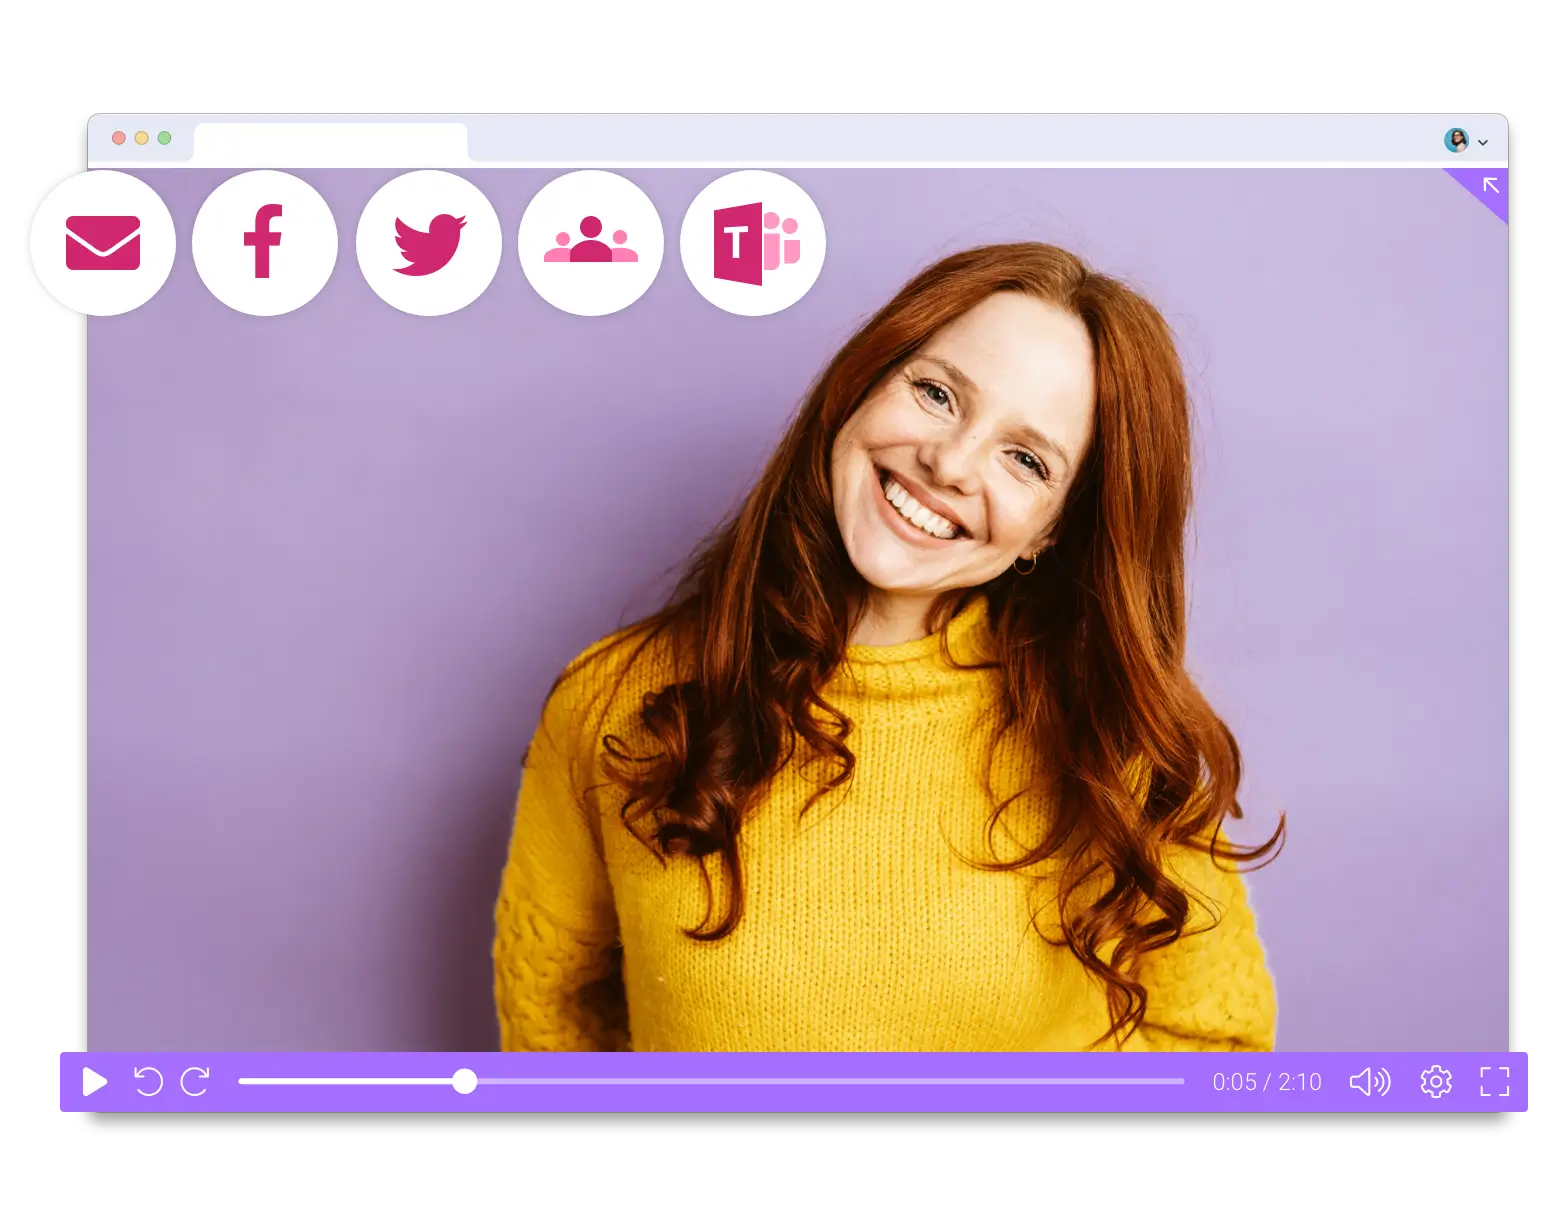
One account for all devices.
Premier Plans unlock it all!
Desktop Editor, Chromebook App, Android App, iPhone/iPad App