Millions of students are starting the school year in a whole new way. They’re using a laptop and recording videos to connect with their teachers. It’s a first for many.
Yet, there’s a valuable upside to remote learning. Students are gaining tech skills sooner. The sudden immersion into online learning is creating a generation comfortable with navigating new technology including creating and editing videos.
Selecting a Chromebook Editor
Before students can become editing experts, they need some help.
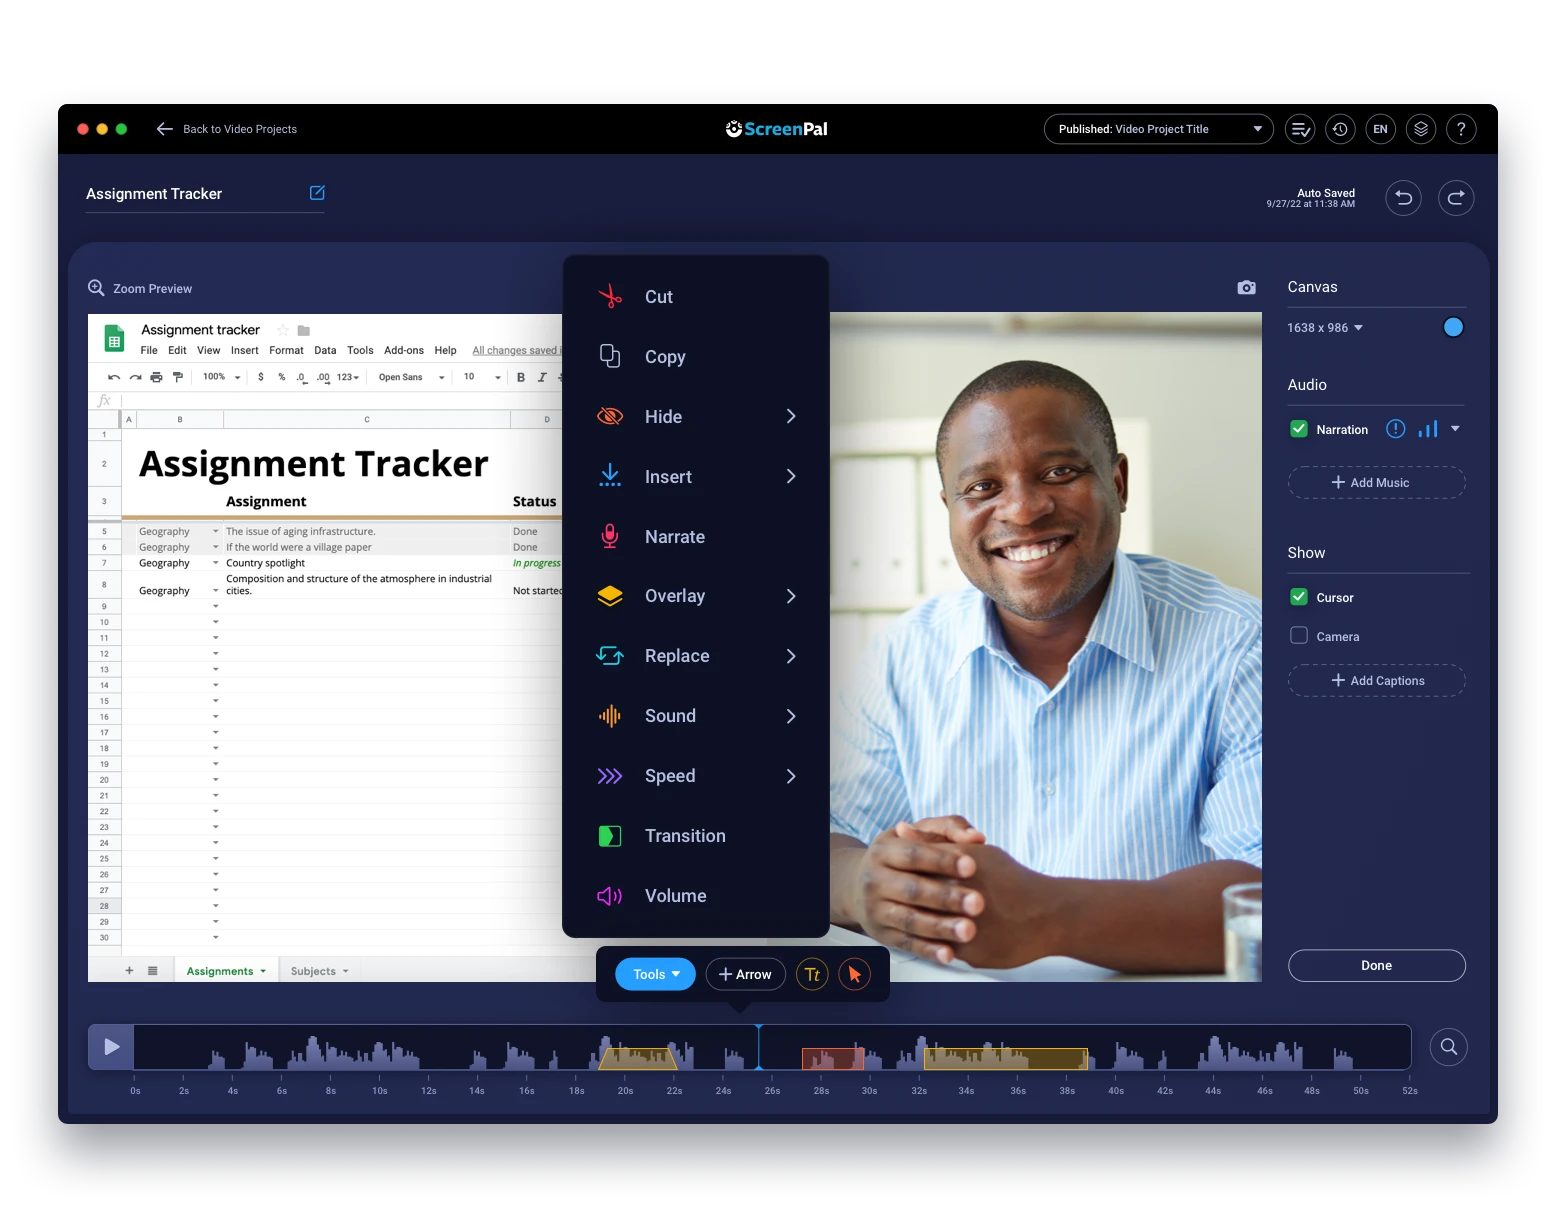
Make sure students download the best Google Play apps to fit your remote classroom. Look for video editing platforms that offer text, overlay features, and narration options. The Chromebook Video Editor offers even more including music and a stock photo library.
The interface is important too.
As more schools transition to 1:1 computer initiatives, companies like ScreenPal are designing platforms with educators and students in mind. Clean, simple designs are key so students can understand and learn easily.
Once you’ve decided on a Chromebook editor, incorporate video projects into your curriculum. It’s a fun way to engage students. Plus, all the tools are at their fingertips. So let your class flex their creativity by editing any of these class projects.
1. Digital Toy Review
Transform a childhood favorite like show-and-tell into a digital showcase. Assign students to create a toy review similar to the YouTube hit Ryan’s World (formerly Ryan’s ToyReview).
It’s a perfect start for younger students using a Chromebook for the first time.
Students record a review of their favorite toy using their built-in Chromebook webcam. Then, incorporate early video editing skills by asking students to use shapes or emoticons to rate the toy. For example, a student could add happy face stickers or use a five-star scale to grade the toy.
Students using the Chromebook Video Editor can insert these stickers in no time. The video editor offers emoticons or overlay features. Students select their favorite stick in the editing toolbar. Each sticker or shape can be customized by adjusting the color, rotation, and size.
2. Test For Grammar
Test your students’ grammar by turning them into online copyeditors.
Challenge students to find an online article with grammatical errors. Use a screen recorder to record a copy of the article. They won’t be rewriting it through. Instead use the video editor to add copyediting marks throughout the piece.
The Chromebook Video Editor offers all the features they’ll need. Students can insert overlay shapes to add copyediting marks. Or use the text feature to write out in-depth corrections. Using the Chromebook touchpad, students can drag their elements anywhere on their videos, adjust the size, and rotate their markings to fit as needed.
Finally, ask students to add narration to their project explaining their work. Add narration in the editor to the entire video or a portion of it by clicking the microphone icon.
3. 90-Second Biography
Allow students to get creative with their next history lesson. Assign each student an historical figure. Using the editor the students must create 90-second biographies.
They’ll need visuals to bring their mini-documentaries to life. The video editor links students to a stock photo library filled with thousands of high-quality images. They can select the overlay and stock library option. Premier users can incorporate any photos into their project.
Give the biographies the pop-up video look by speech bubbles. Students can access a variety of conversation bubbles in the overlay section of their editor. They can then use the text feature to add pop-up facts to their project.
Unlock Student Creativity
So allow students the option to play around with video.
It not only enhances your lessons but prepares them for the future where technology is more important than ever. Plus, the versatility of a Chromebook means students can edit anytime, anywhere, and share projects between devices.
Unlock a world of creativity for your class.