Though the tail end of last school year was chaotic, by now teachers have had time to experiment with remote learning. They know what works and doesn’t work for their students. Thanks to the trial and error at the start of the pandemic, many teachers are now ditching live video in favor of pre-recorded lessons.
Asked in a recent Reddit thread whether they preferred live or pre-recorded video for e-learning, nearly 70% of teachers chose pre-recorded. As for the rest of the responses, 23 percent said they prefer a mix of both pre-recorded and live learning, while only eight percent said they favor live video.
Below, we’ll show you the benefits teachers find with pre-recorded video, and share a few creative ways to make your own e-learning videos with ScreenPal.
Why the shift to pre-recorded video?
While it initially seemed like live video would be the most valuable tool during the shift to remote learning, teachers quickly became frustrated by its limitations and looked to pre-recorded video instead. Pre-recorded video has several advantages to live video calls when it comes to remote learning.
You only have to say something once. Students can save and rewatch pre-recorded videos as needed, which prevents teachers from answering repeat questions. Often, teachers can reuse the videos for future classes too.
- Asynchronous learning is more convenient for families with slow internet, no internet, multiple school children, or parents working from home. Rather than being required to sit behind a screen all day, students can learn when it fits into their home schedule.
- If you’re doing a mix of pre-recorded and live video, you can have students watch your videos before class time, and then spend your live video meeting answering questions and helping them work through assignments.
- One common complaint teachers have about live video is all the technical difficulties and glitches that can occur during class. Pre-record your lesson, and all students have to do is hit play to start learning!
Creating new ways to use pre-recorded video with students
- Play your pre-recorded lesson live. Pre-record your lesson with the screen recorder. Then when it’s time for class, play the recorded video live for your students. While they watch, you can answer their questions in the chat window.
- Use voiceover narration. If you’re uncomfortable showing your face on camera, give voiceover narration a try. You can record freestyle, or use a script to time your narration perfectly.
Draw on your screen. If you need to show students how to solve a math problem, use the Draw & Zoom tool to write directly on the screen so you can show the steps.
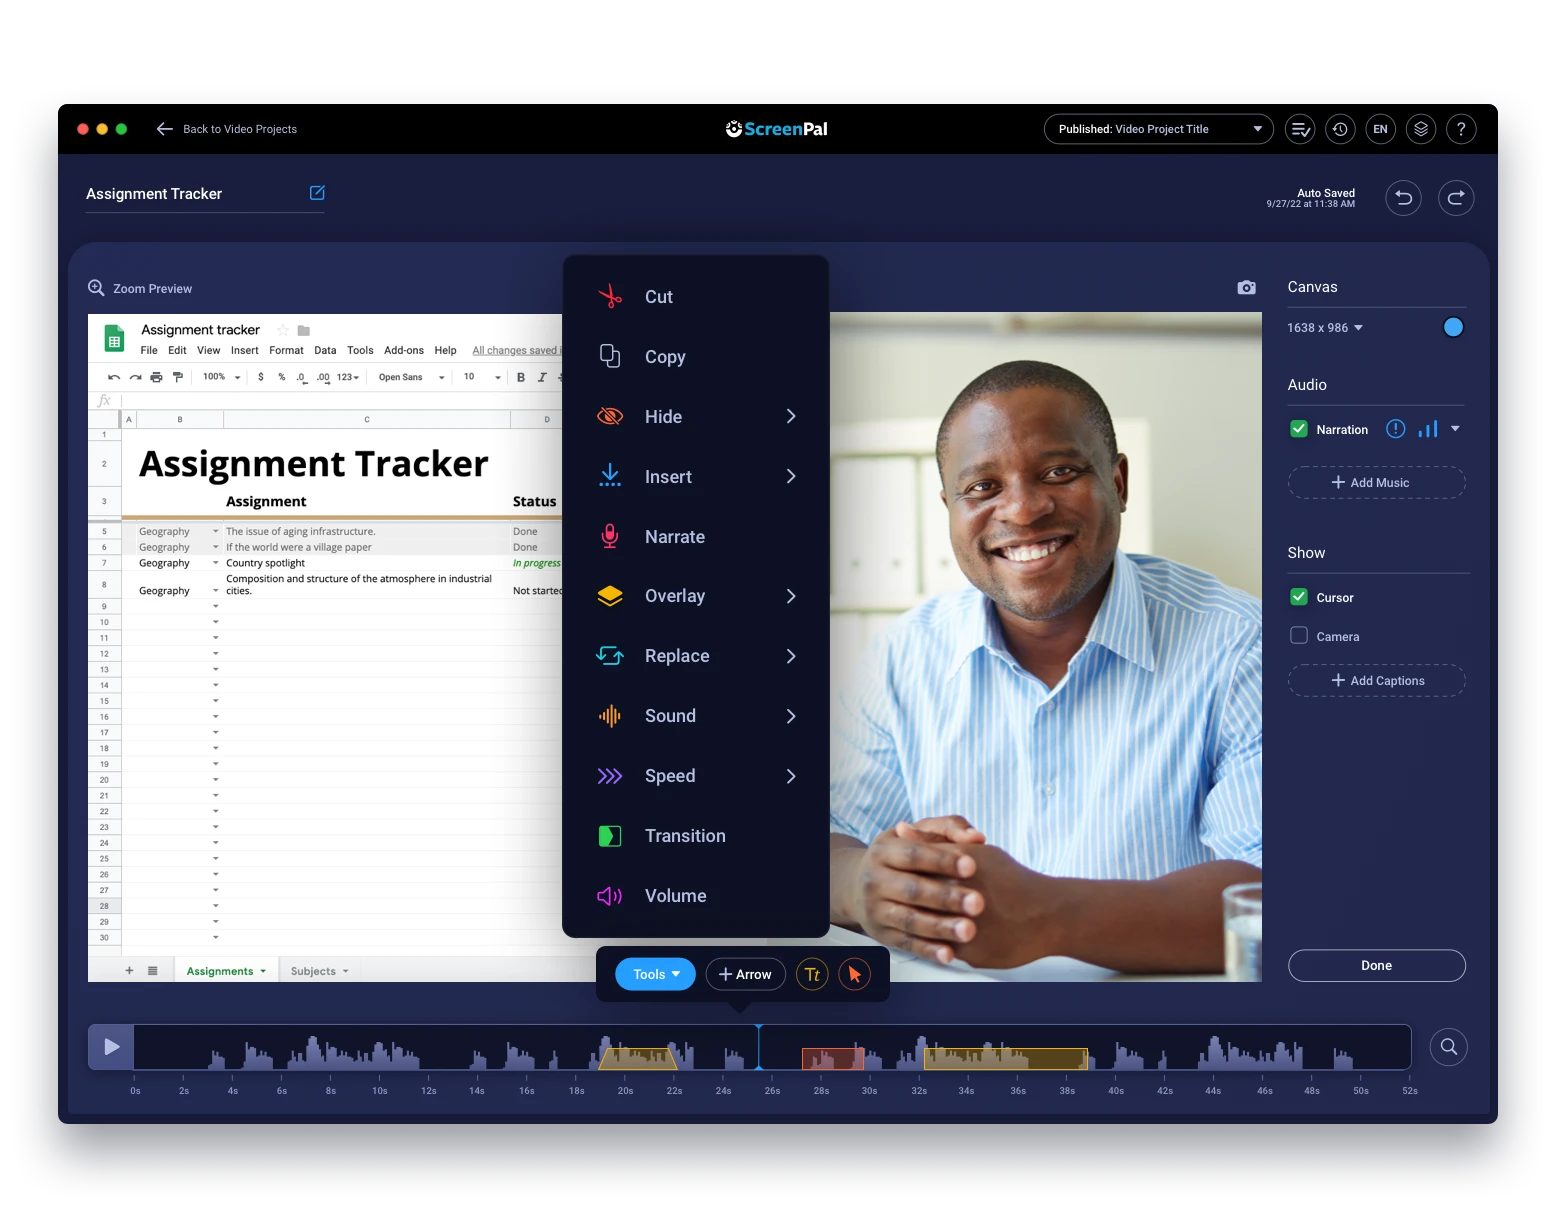
- Fine-tune your video with easy edits. Use an easy video editor to create edits on your pre-recorded lessons. Edits like text overlays, highlights, and added music can help hold students’ attention, and improve comprehension.
- Record mini-lessons. Battling short attention spans? Try recording quick five-minute mini lessons to show at the beginning of class, then focus the rest of live class time on guided practice.
- Give parents access to all videos for the week. To give families more flexibility and fully lean into asynchronous learning, try giving parents access to all pre-recorded lessons at the start of the week. Then they can work with students to break up course work into manageable chunks throughout the week. One teacher suggested doing one subject per day, to make it easier to focus on one thing at a time.
Pre-recorded video gives both teachers and students greater flexibility in e-learning. Try these tips and get creative to find what works best for your class.
Quick Links
Video Editing Tips For Beginners