Main Menu
Are you in university and need to record a lecture? Or maybe you’re a YouTuber who wants to start recording your gameplay? Perhaps you want to create an educational tutorial? Whatever the reason, we’ve got you covered if you need to know how to screen record on Chromebook.
The Chromebook is as unique as it is versatile. It’s an excellent device for students and busy professionals who need to get things done quickly and efficiently. And one of the many things that make the Chromebook so prominent is its ability to screen record.
Chrome OS 89 and higher have a built-in screen recorder that’s easy to use and only takes a few clicks to get started. However, the features of this built-in screen recorder are fairly basic. If you need more advanced features, such as the ability to record your webcam or capture audio from your microphone, you’ll need to use a third-party screen recorder, like ScreenPal’s Online Screen Recorder.
In this article, we’ll show you how to screen record on Chromebook using the online screen recorder, the best third-party screen recorder for Chromebook.
How to record your screen on Chromebook with the built-in screen recorder
Now that we’ve looked at the differences between the Chromebook screen recorder and ScreenPal, it’s time to learn how to screen record on Chromebook. We’ll start with the built-in screen recorder that comes with Chromebook.
- On your Chromebook, press Shift + Ctrl + Show windows
- At the bottom of the menu, hit Screen record
- Choose an option that works best for you:
- Record the full screen
- Record a partial screen
- Record a window
When you’re finished recording, click Stop recording at the bottom right of your screen, and voila, you’ve successfully used screen record on a Chromebook! We told you it was easy.
Remember that the Chromebook screen recorder only records in .webm format, which isn’t compatible with all video editing software. So, if you’re planning on doing any post-processing of your recording, you’ll have to learn how to screen record on a Chromebook using ScreenPal.
How to screen record on Chromebook with ScreenPal
ScreenPal is the best screen recorder for Chromebook. Not only does it have all of the features that the built-in recorder lacks, but it’s also super easy to use. In fact, you can be up and running in just a few clicks.
Head to our website to get started. You can even test your webcam before you begin. Click the Create button, click Record Video, and then select Online Recorder. You will then be prompted to sign into your account if you have one, or create a ScreenPal account, which you can do for free! Easily sign up with Google, Apple, or your email address.
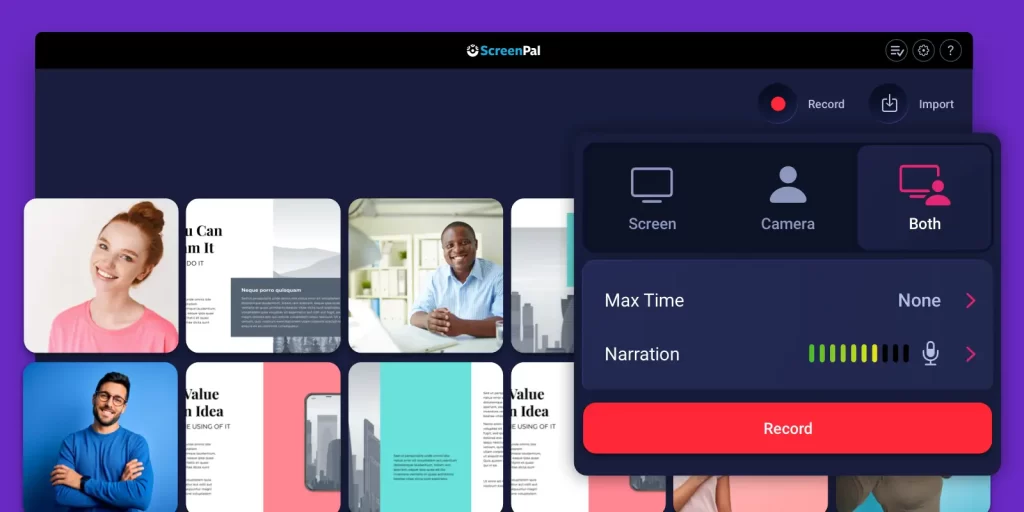
- Once you sign in or create your account, the Online Screen Recorder opens and asks you what you would like to record. Choose to capture your screen, webcam, or both. You can record as many videos as you want, up to 15 minutes long, for free. Upgrade your account to get unlimited recording times here.
- If you included your screen in your recording, choose what to share with ScreenPal. You can share a Chrome tab, a specific window, or your entire screen.
- The Online Screen Recorder opens and you can turn your audio and your camera on and off. Start recording by clicking the big red Record button. You can pause at any time. Click the Tools button to use the Zoom tool or the drawing tools, add an on-screen effect, or to use our teleprompter tool. Stop the recording and upload it to ScreenPal for easy editing and sharing.
And that’s it! You’ve just learned how to screen record on Chromebook using ScreenPal. We told you it was easy! For more information on how to use the free screen recorder from ScreenPal, or to learn about our other features, head over to our website or check out our tutorials and walkthroughs here.
Why choose ScreenPal’s screen recorder?
 Before we show you how to screen record on Chromebook, we want to address why you should use a third-party screen recorder like ScreenPal instead of the built-in screen recorder that comes with Chromebook.
Both methods will allow you to screen record on Chromebook, but you should be aware of some key differences between the two.
The Chromebook screen recorder is great for simple tasks, like recording a lecture or creating a tutorial. But how do you screen record on a Chromebook and add fun effects or even your webcam? That’s where a third-party screen recorder comes in handy.
ScreenPal’s Chromebook screen recorder allows you to record your entire screen or just a portion of it. You can also record audio from your microphone and webcam. You can even test your microphone before getting started. And if you’re recording a video tutorial, you can even use the built-in annotation tools to draw on your screen and highlight important information.
Let’s take a closer look at the features of each screen recorder so you can decide which one is right for you.
Chromebook screen recorder features
Learning how to screen record on a Chromebook may be the easiest and most important skill you will learn this year. The Chromebook’s built-in screen recorder is great for simple tasks and doesn’t require installation.
Features include:
- Full/partial / browser window recordings
- Record mic/media audio
- Save as WEBM files only
While the Chromebook screen recorder is suitable for simple tasks, it lacks some key essential features for more advanced users. Now, let’s take a look at the features of ScreenPal’s screen recorder for Chromebook.
ScreenPal features
If you want one of the best screen recorders for Chromebook, then you want ScreenPal. It’s a powerful screen recorder that out-performs the Chromebook screen recorder in almost every category. You can do everything the Chromebook screen recorder can do, and you also get a host of other critical features for more advanced users.
Features include:
- Record FREE for up to 15 minutes
- Picture-in-picture mode
- Unlimited video recordings
- Add narration
- Select recording size
- Virtual camera backgrounds
- Background removal
- Choice of camera shapes
- Upload to ScreenPal
- Unlimited recording time per video
- Access to the Online Video Editor
- Drawing tools
- Zoom tool
- On-screen effects
- Teleprompter tool
- No watermark
The above is just a small sampling of what ScreenPal can do. View more information about our Online Screen Recorder here.
Tips for screen recording on Chromebook

As with anything, a few tips and tricks can help you get the most out of your screen record on a Chromebook. Whether you’re using the built-in recorder or ScreenPal’s Online Screen Recorder, the below tips will help you get the best results.
Plan your recording
Before you start recording, it’s always a good idea to have a plan. That way, you can ensure that you capture everything you need and that your final video is cohesive.
To do this, we recommend sitting down and brainstorming what you would like to include in your recording. You can even create a script, storyboard or shot list to help you keep track of everything. This is especially helpful if you’re recording a long video or tutorial.
Once you have a plan, you’re much more likely to end up with a video that you’re happy with.
Clear computer clutter
No one wants to watch a video with a bunch of random icons and windows in the background. So, before you start recording, take a minute to clear away any computer clutter. This will help your viewers focus on the content of your recording, rather than getting distracted by what’s happening in the background.
Remove unnecessary desktop icons, browser tabs, and anything else that might be distracting. If you’re recording your screen and don’t want people to see what’s in your browser history, you can also clear your cache before recording.
Remove personal wallpaper photos if you don’t want people to see them, and close any programs or windows that you’re not using. This will help keep your recording looking clean and professional.
Free up system resources
Recording your screen can be a bit of a resource-intensive process. So, if you want to get the best results, it’s always a good idea to free up as many system resources as possible before starting your recording.
To do this, close any programs or tabs that you’re not using. This includes any intensive programs like video games or graphic design programs. You should close any background programs you don’t need, like your email client or chat apps.
By freeing up system resources, you’re helping to ensure that your recording will run smoothly and without any hiccups. So, it’s worth taking the time to do this before recording.
Check the audio
Audio is an integral part of any video recording. Before you start, it’s always a good idea to check that your audio is working correctly. This includes both the audio from your microphone and the audio from your system speakers.
To test your microphone, you can visit our free mic test page.
To test your system audio, play a song or video from your computer and ensure the sound is clear. You can also use this opportunity to adjust the volume levels to ensure that they’re where you want them to be.
Test your webcam
If you’re planning on recording your face along with your screen, you’ll also want to test your webcam to ensure it’s working properly. You can test your webcam for free on our webcam test page. This will allow you to see what your webcam feed looks like and make sure that the video and audio are both clear.
You can also use this opportunity to adjust the position of your webcam and remove any clutter from the background. Consider blurring or replacing your webcam background with a virtual background image.
Watch the hard drive space
A screen record on a Chromebook can take up a lot of hard drive space, especially if you’re planning on recording for a long time. So, before you start recording, go ahead and check how much free space you have on your hard drive.
Look for photos, videos, or other files that you can delete to free up some space. If you’re really short on space, consider moving some files to an external hard drive or cloud storage service.
It’s also a good idea to empty your trash bin before starting your recording. This will help free up even more space and enable your recording to run smoothly. If you create a lot of screen recordings, you can host your video files somewhere else, like ScreenPal hosting.
Choose the right resolution
The resolution of your screen recording is important for two reasons. First, it will affect the quality of your video. Second, it will affect the file size of your video.
For the best quality, you should record your screen in the same resolution that your Chromebook is set to. This will ensure that your recording looks sharp and clear.
However, if you’re short on hard drive space, you can lower the resolution of your recording to save space. Just keep in mind that this will also lower the quality of your video.
Open ScreenPal’s Online Screen Recorder for Chromebook

Now that you know how to prepare for your screen recording, it’s time to check out the best screen recorder for Chromebook: ScreenPal.
We can’t wait for you to try it out and see how easy it is to create high-quality screen recordings on your Chromebook. Just follow the steps outlined above, and you’ll be recording HD videos in no time. If you have any questions or need help getting started, our team is always here to help.