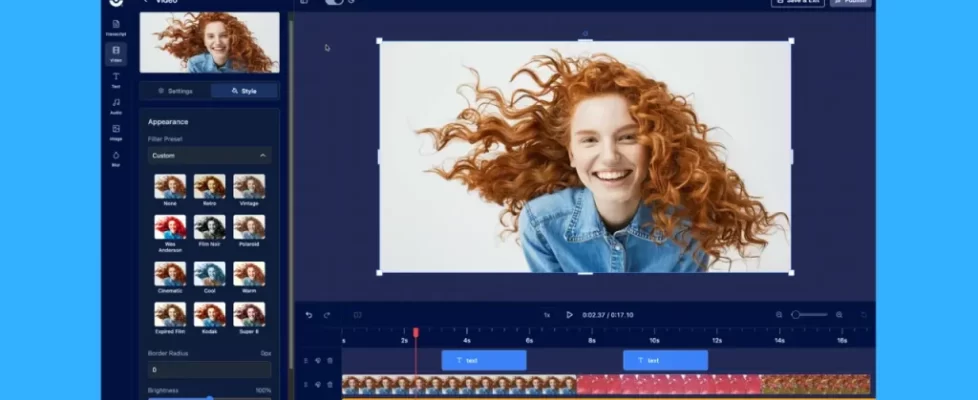
Adding audio or music tracks to your video can turn an otherwise ‘boring’ video into an engaging one. Sound can have a dramatic effect on the perception of your video whether you are creating a video tutorial, class lesson, or a marketing video. Audio can help keep your audience engaged.
With ScreenPal, you have numerous options to include audio or music tracks to your video. Here’s a simple audio guide to get you started:
Audio Tracks in the Screen Recorder

Narration – The app will automatically detect any audio sources on your computer. By clicking on the arrow, you can select the microphone you would like to use.
Computer Audio – You can choose to add computer audio to your video. Click on ‘yes’ to record computer sound. (Available on Mac and PC).
For Mac users (macOS 10.12 or later), you will need to enable computer audio. Please follow the directions. You will need to restart your computer after enabling computer audio.
How to Add Music
Once you finish recording, you can play and listen to your video by clicking on the play button.
Free users are able to add music by clicking on the music icon located next to the editing timeline. Free users can choose from 30 music tracks.
Deluxe and Premier users have full access to the stock music library. There are two ways to access the music library.
- Click on the music icon next to the timeline.
- In the Video Editor, click on the arrow button next to ‘Music’ and a list of music tracks will appear.
Click on the play button to listen to each music track. You can choose a music track by clicking on the title of the track. Once you choose a music track, an import notification will appear.
Audio Options in the Video Editor
 There are more options in the video editor to customize your audio tracks.
On the right-hand side of the video editor, you’ll find a section titled ‘Audio.’ If audio is chosen or detected, those tracks will appear under this section.
Narration and Computer Audio Settings
The question mark appears if the app detects moments of silence in your video. You can choose to cut or speed up silences in your video. A more detailed article about fixing your silence is also available.
By clicking on the bars, you’ll find options to increase or decrease the volume of your audio. If you adjust the volume, it will affect your whole audio track. You also have the option to reset any changes you’ve made.
Checking off ‘Normalize’ allows you to get more consistent audio levels.
‘Reduce Noise’ reduces background noise. We suggest that you use a quality microphone to use for audio narration.
By clicking on the arrow, you have the option to export and import audio files.
Music Settings
 You can adjust music settings by clicking on the bars. You can increase, decrease or reset the volume of your music track.
You also have the option to fade your music. The fades are implemented at the start and end of your video. You can adjust the length of time it takes to fade music on your video.
‘Ducking’ automatically lowers the volume of your video when audio narration is detected.
‘Normalize’ provides consistent levels of audio.
‘Loop’ allows you to loop the music track for longer videos.
Stock Music Library
 By clicking on the arrow, it opens the stock music library. There are multiple categories showcasing numerous music tracks. You can play or click on a music track to add to your video.
Import Your Own Music
Located at the bottom of the stock music library is the option to import your music. You can upload any mp3 or wav audio file to your music library.
Click on ‘Import Your Music’ and choose a file from your computer.
Your music track is available for future use. You can find your own tracks under ‘Your Music’ in the music library.
Audio Resources and Links
Video Tutorial: Editing Audio
Video Tutorial: Adding Music Tracks
Video Tutorial: Find and fix silences
Article: Find and fix silences in your video
Guide: Video Editor Cheat Sheet


