Technology has officially taken a seat in the classroom. About 12.6 million mobile devices were delivered to American schools in 2016, and 58% of those devices were Chromebook devices. With easier access to Chromebooks and other devices comes even more ways to learn. Students are no longer confined to textbooks and whiteboards, they can also learn from interactive technology like smart boards and videos.
Dr. Shannon Doak, an educational technologist in Hawaii, has seen more engagement and creativity from students who learn from classroom videos. He sees video as a great tool to encourage skills like collaboration, critical thinking, and communication.
For some educators, however, learning how to use new technology can be yet another roadblock in the teaching process. Luckily, learning to record and edit videos on your Chromebook has never been easier.
Here’s a step-by-step guide on ScreenPal’s Chromebook screen recorder.
How to Record Video on Chromebooks
There are two ways to use ScreenPal to record video for instruction. You can either download the app from the website or get the browser extension from the Chrome store.
Using ScreenPal Screen Recorder
- Download the free ScreenPal screen recorder.
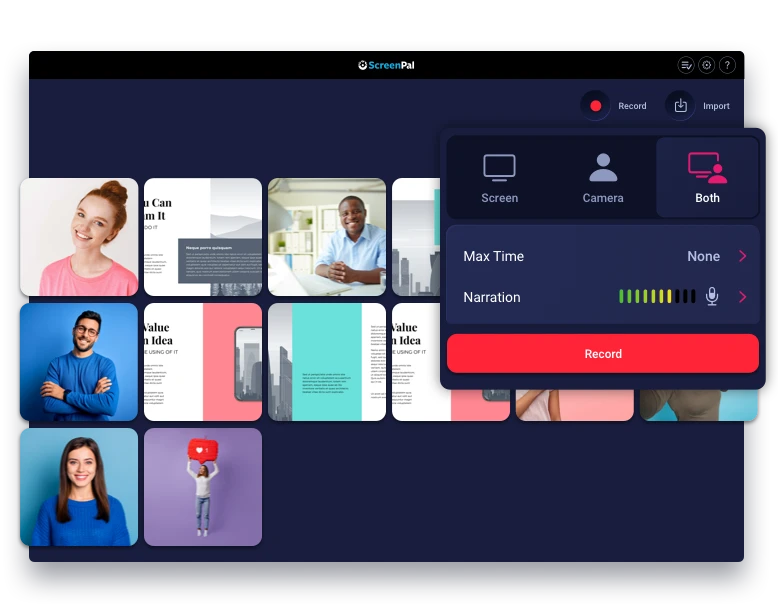
- Launch the program and choose what you’d like to record (your screen, your webcam, or both) from the menu.
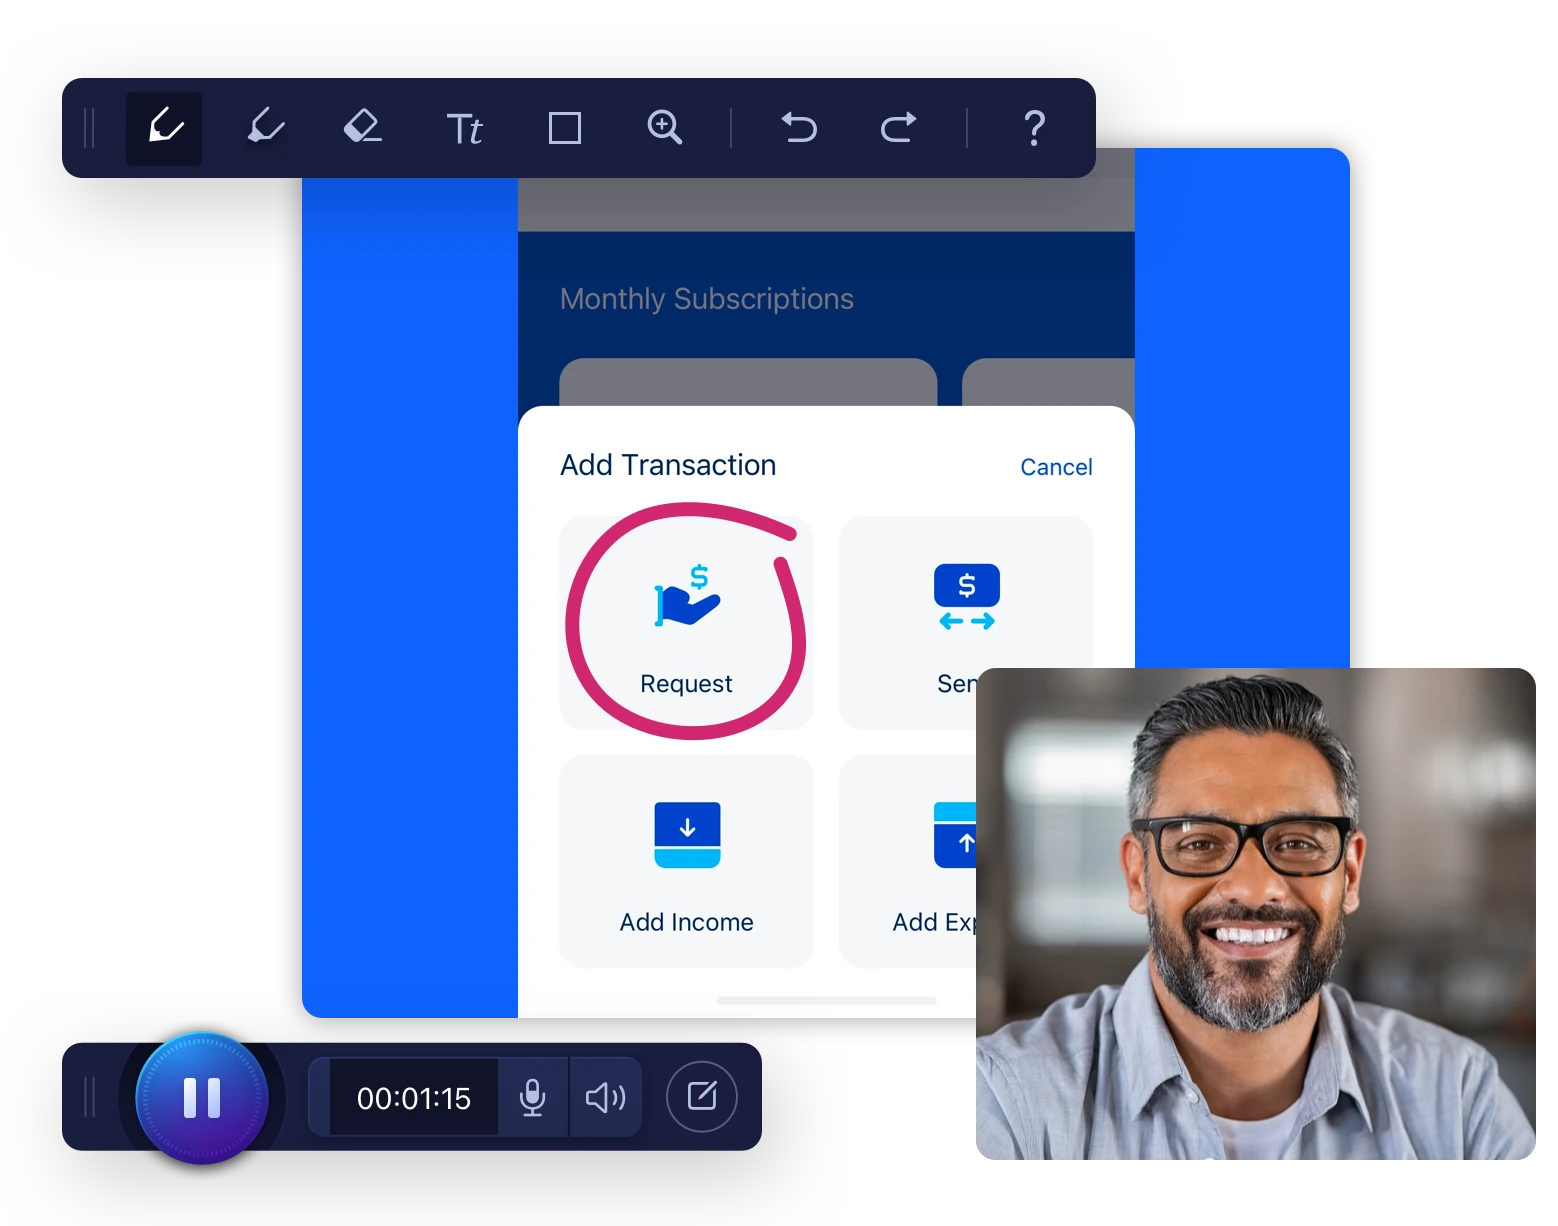
- The frame can be dragged or resized to show any part of your screen that you want to record. You can also choose from preset sizes (e.g. fullscreen or 720p) from the drop-down menu. If you are using the webcam, you can drag the webcam window anywhere within the recording frame.
- Choose the microphone you want to use for narration. You can use the internal microphone on your Chromebook or use an external microphone if you have one.
- Hit record to create your video. You’ll see a countdown (3,2,1, go!) and your video will start recording. You can pause, play, or start over using the control buttons at the bottom of the frame.
- When you are finished, click Done. You can then trim the beginning and end of the video by dragging the time bar at the bottom to adjust. Trimming the video will make your screencast seem more polished because you can remove false starts or awkward silences.
- If you’d like to add music to your video, click on the musical note to see a list of royalty-free music options.
- To save your video, click on the timestamp at the end of the video. You’ll have the option to save the video file to your desktop, upload it on ScreenPal, or publish it to YouTube. If you upload your video on ScreenPal, you can later download it to your desktop as an mp4 and upload it to YouTube.
Launch the Chrome Browser Extension
- After getting the extension from the Chrome store, launch the recorder from your browser.
- Choose the option to share ‘Your Entire Screen.’ This will give you the option in the next step to record your screen, webcam, or both.
- Decide what you want to record (the screen, webcam, or both) and select it from the menu.
- If you’re recording both your screen and the webcam, a second icon (camera icon) will appear in the Chromebook shelf. Clicking on the icon will minimize or restore the webcam window. This feature is helpful while you are recording because you can make the webcam window appear and disappear from the video.
- You can make the webcam window larger or smaller by dragging the corners of the window with your mouse.
- Clicking on the camera icon will pause the video. You can then preview the combined recorded video (which shows both your screen and the webcam). From there, you can save the video or start over.
Tips for Making the Best Screencast
Once you’ve learned how to use ScreenPal to record video on your Chromebook, we have some tips for making the best videos possible.
- Be prepared. Children are only able to focus on a task for two to five minutes per year of age, which doesn’t give an educator much time. Plan out a lesson, write a script, or make an outline to guide your video. The video will also be easier to record if you have a specific plan. If you can grab the attention of your students, they’ll feel more engaged and therefore more likely to remember your lesson.
- Don’t be afraid to pause. If you need to get a drink of water or open a document on your computer, you should pause your recording. Pausing the video is better than creating awkward silence or a clumsy transition. Plus, you won’t have to worry about editing out the silence or, worst-case scenario, starting a new video from scratch. Clicking on the Record button again will pause your video and allow you to return later right where you left off.
- Edit your videos. A simple video tutorial would be fine unedited, but if you really want to engage your students or encourage them to think outside of the box, video editing is a great next step. ScreenPal offers an affordable video editor with the Deluxe or Premier subscription packages. With this easy-to-use program, you can cut and paste sections of your recording, add animation and images, and much more. If your students are struggling with a particular lesson or subject, a visually interesting video may help them learn it. It might even inspire students to create their own screencast videos.
Get Inspired to Record Video
Once you’ve learned to record video on a Chromebook, you’ll be armed with new ways to educate and inspire your students.
You can use the screen recorder on Chromebooks, Mac, and PC, or any computer that uses the Chrome browser. Whether you’re in the classroom, your office, or at home, you can have this tool with you wherever inspiration strikes.
Discover the exciting new ways educators are using video technology in the classroom on our blog.
Quick Links:
Improving education with videos and Chromebooks
Educator shares how video technology plays a role in the four ‘C’s of education
Professor uses flipped learning to spark passion in her students