Kareem Farah, an educator turned non-profit leader, mastered the art of screen recording and video creation for his students. During his time as a high school teacher, Farah saw a huge impact on the way his students learned when he used video in his classes. After seeing the positive effects it had on his students, Farah felt the need to tell more educators about it. That’s when he teamed up with a fellow teacher and co-founded the Modern Classrooms Project. The non-profit’s mission is to help educators implement video in their teachings. Here are his tips and advice to create better designed to engage students.
Tip #1: Plan First With Your Own Custom Content
Not all videos are created equal. Although it’s easy to grab a video off of YouTube, a student stays engaged when the videos are coming directly from their teacher. With a broad diversity of learning levels in a class, pre-made videos may not be the best content to share.
“It’s a unique time to build screencasts. Normally when we use technology in education, the gut reaction is to use existing content that’s out there. In a distance learning setting, kids want to hear from their teachers, and teachers want to see their kids. The screencast presents a really exciting opportunity to build your own videos and still maintain a relationship in this remote learning environment.” Farah said.
Don’t doubt your abilities when creating content. Students want personalized videos even if it’s a simple screen recording. Studies are proving that students enjoy and connect to some of the messier human elements of screen recording thus making them more compelling to the children.
Planning is essential. The large bulk of the work needed to create your content will be equally split between planning and recording. The rest of your time will be for spicing up your videos and then sharing them out with your class.
Once you have an outline of what you want to include in your video, get started! Trust us, if you plan first, you’re going to feel so much better and more confident on-screen.
Students tend to lose trust when you outsource content. Keep the trust alive, by being your whole self on screen.
Tip #2: Create Better Videos By Keeping Them Short
We’re talking six minutes or less! That’s ideal.
Although some longer videos close to 9 minutes will work, research has proved, attention drops from 90% to around 50%.
Outline and prepare only what you want to cover in the video. Stick to one skill or concept. By restructuring the content, you’ll have an easier time hitting the 6-minute mark.
Still feeling anxious? When you watch your video, note what information is essential, and what is not. Instead of showing all the content to students, save time by showing the class where THEY can discover the extra content.
An easy way to make sure you stay on track is by chunking your videos into shorter-length videos. A 10-minute lecture created as a part of a 60-minute lesson can be shortened into two 5 minute videos. Each of which will then be part of a 30-minute lesson.
“What’s cool about using screencasts and eliminating lectures is instead of thinking about time that way, you can think of time as a ‘unit experience’ as opposed to an individual lesson,” says Farah.
Tip #3: Don’t Worry About Making Videos Look ‘Pretty’
Technology is naturally impersonal, so when you’re not on screen and students can’t see you, the screen recording loses your personal touch. If you can create a middle ground, where you show your webcam, it will give a certain level of comfort to students.
Another way to personalize videos is to speak in your natural voice. Use the same tone and energy you would have in class. This is vital. Not only will your pacing keep your videos on time, but speaking at your natural pace will keep engagement high.
All interpersonal conversations we have are clear and upbeat. We don’t use monotone or manufactured voices. You want to speak conversationally to fight boredom for the viewer.
Students can always rewatch videos. This is incredibly helpful for students who have a language barrier. By utilizing screen recordings in your blended learning environment, your students have the ability to go back and listen to everything you said.
Tip #4 Find the Right Recording Tool
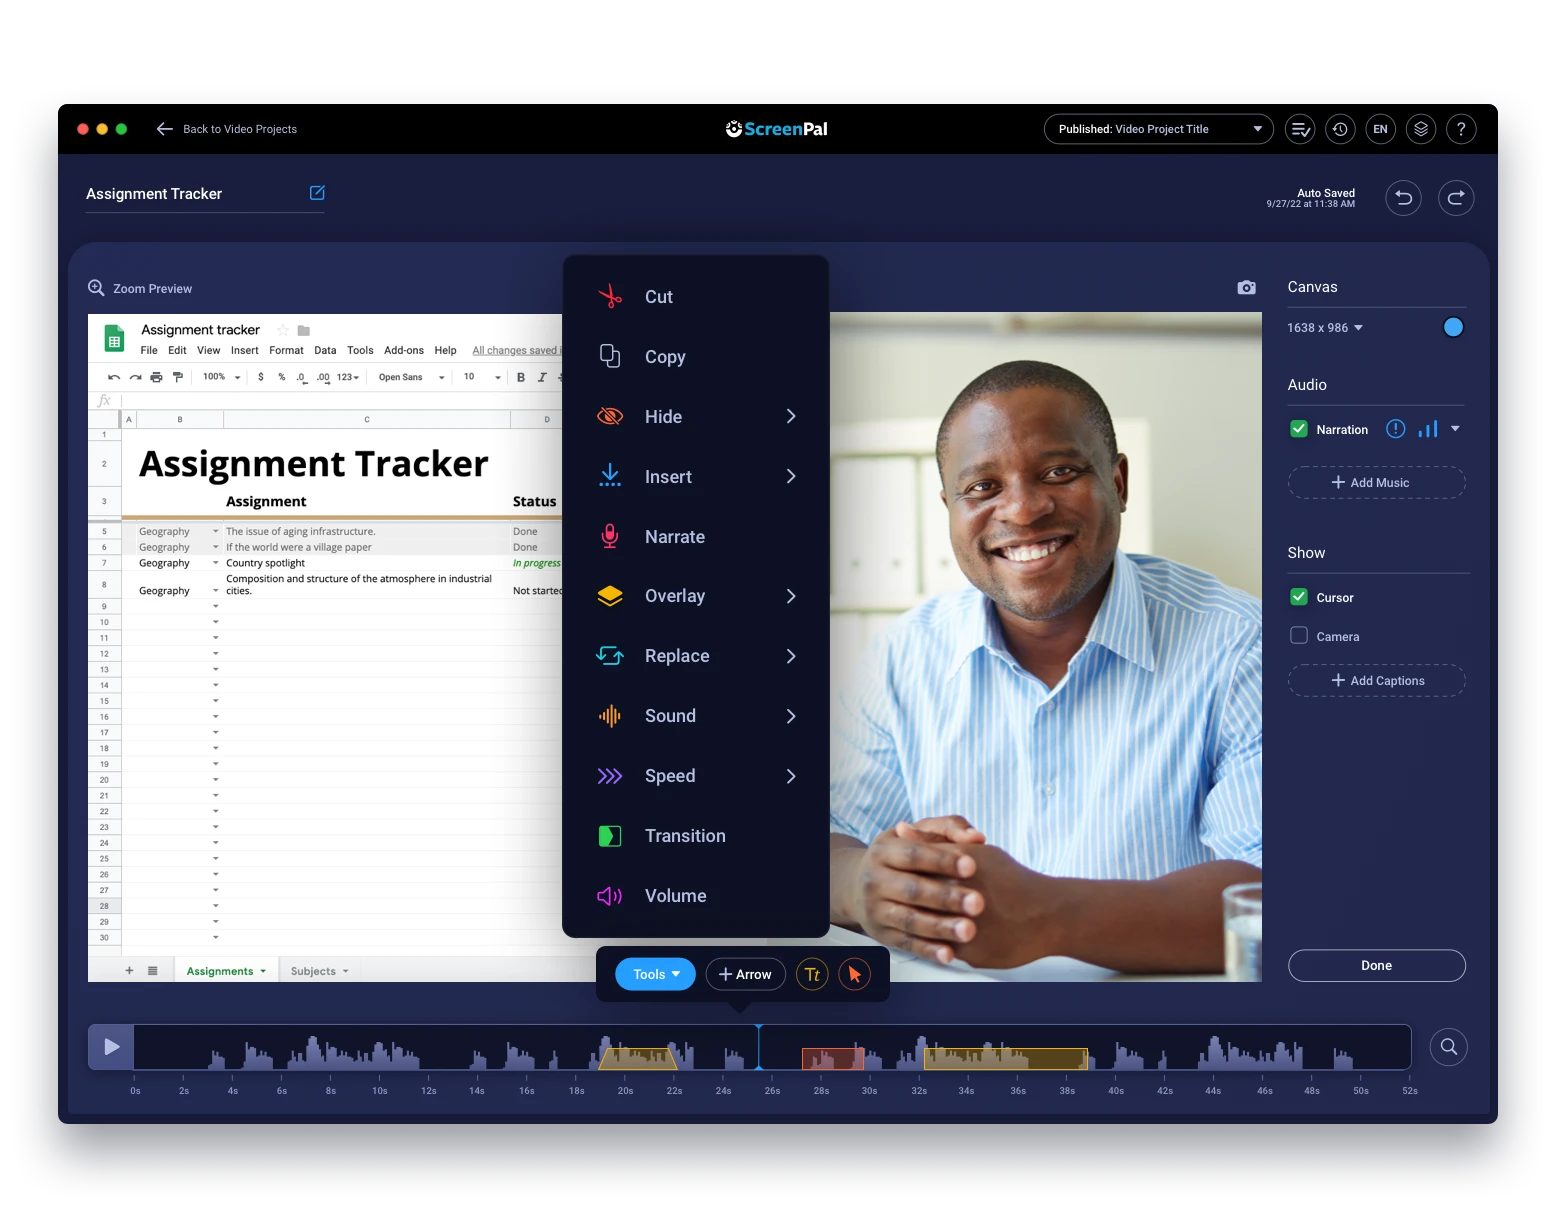
When picking an effective video creation tool, you want to look for one that gives you a high level of flexibility, strong editing tools, annotation capabilities, and a webcam function.
“The most important editing function is the capacity to truncate,” Farah says.
In ScreenPal, you can use truncate in your recordings. It allows you to head to a specific point in a video and re-record. This helps when you’ve made a mistake and you don’t want to rerecord the video.
“It is really easy to use and has all the functionality you need. The paid version is worth the upgrade for the added features,” Farah said.
Take Time to Create Better Videos and Practice
Like all skills you learn in your life, things take time and practice.
Once you get into a rhythm of creating and implementing videos in your classes, things will fall into place. And if you find yourself getting overwhelmed, take a deep breath, and begin again at Tip #1. Everything starts with a solid plan. Good luck!