 Screencasting is one of the easiest ways to make and share videos. With ScreenPal, you can make professional-quality videos, even if you have no experience.
So what is a screencast? It’s a video recording of your device’s screen. Screencasts are a popular communication tool in many industries because they provide an easy way to communicate, educate, and sell ideas.
This handy guide contains all the tips you need to start making top-notch screencasts today.
Create Your Screencast in 3 Easy Steps
1. Record your video
Ready to make your screencast? Start by opening up the Screen Recorder. Then, follow these tips to make the best video possible:
Make a quick outline
You’ll save yourself a lot of time if you plan what you’re going to say before hitting record. You could make a simple outline of the points you want to hit, or for a more concise video, try making a script.
ScreenPal’s Scripted Recordings feature lets you import a script, or type one from scratch. Then you can record your narration section-by-section, following along with your script.
 Minimize distractions
If it’s visible on your screen, it will show up in your screencast. Before recording, head into your computer settings and temporarily disable all desktop notifications so they don’t interrupt your video. Also, remove any extra windows, desktop icons, and distracting wallpapers from your screen.
Background noise and clutter are also big distractions, so be careful to record in a clean and quiet area. Try to pick a room with carpet, as hard floors can cause an echo.
Adjust your microphone
Keep your microphone still, and stay the same distance from it throughout your recording. Even moving a few inches from the microphone can affect the volume in your final video.
Be conversational
Screencasts don’t have to be overly formal. Try to relax and speak in a calm and conversational tone. It may help to imagine you’re talking to a friend or colleague face-to-face.
Use the pause button
There’s no need to record your screencast all in one take. Instead, work in sections, recording one chunk at a time. Hit the pause button after every few lines to give yourself time to rehearse the next section. Then continue recording when you’re relaxed and ready.
2. Refine and edit your video
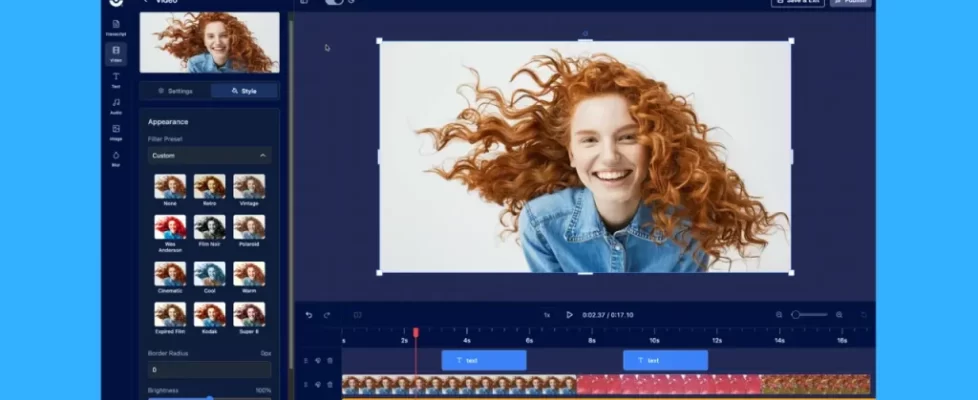
 Once you’re done recording, it’s time to edit. The Video Editor enables you to fix any mistakes made during your recording, as well as add elements like music, photos, and animations for a polished flair.
Follow these tips for a smooth editing process:
Plan your edits
Before you actually make any edits, take a minute to watch your whole video, and take note of all the changes you want to make. Note the timecode for each edit, so you can find your place easily.
You’ll also want to make sure you have all your media assets in one folder so you can quickly get to them while you are editing.
Trim and cut your video
Next, trim the beginning and end of your video to remove dead space. Then cut any pauses or awkward silences you notice.
Cover up mistakes
There’s no need to re-record simply because an image failed to load or your video lagged. You can fix these issues with the Overlay Tool. It lets you add pictures, slides, additional video clips, and more to your recordings. Just import your media and place it in your video to cover up mistakes.
Keep it simple
Your videos don’t need to be fancy to be effective. Just stay focused on your message and keep it simple. Pick one or two transitions you like, use one style for your text callouts, and add pictures or extra video clips if they help you make your point. That’s all you need to keep your audience engaged.
3. Save and publish your video
You’re almost there! It’s finally time to share your video with the world. Here’s how:
Save as a video file
We always recommend saving your screencast as a video file, or mp4. That’s because these files are easiest to view on all devices. You can also upload them directly to social media without any hassle.
Connect your social sharing websites
With ScreenPal, you can instantly share your videos to sites like YouTube, Vimeo, or Google Drive. Just sign in through the account you’d like to share to, and click “share.”
Welcome feedback from your audience
Encourage viewers to comment on your videos and share their feedback with you. Your audience’s insights can help make your future videos more effective.
Plus if you share your video on YouTube, those comments will drive up your engagement. This makes your video more likely to show up in search results.
Get started with ScreenPal
Now that you know how to make a quality screencast, you’re ready to record. Remember: mistakes will happen, but that’s okay! With this guide, you’re already well on your way to screencasting success. You can create screencasts for training videos, tutorial videos, how-to videos, product demo videos, YouTube videos, and more.


