Video tutorials are some of YouTube’s biggest hits. You can find numerous channels on YouTube that showcase video tutorials on a variety of subjects. With over 62 million subscribers, ‘5 Minute Crafts’ showcases simple craft and DIY tutorials. Whether you are creating your own YouTube channel or using tutorials for the workplace, it’s all in the tools you use. You simply need to find the perfect video editor for YouTube to build your tutorials.
An intuitive editor can take you from recording to editing and publishing within minutes. Here are several tips to create engaging video tutorials worthy of YouTube success.
Creating Your Videos with a Plan
The most time-consuming portion of a quality video tutorial is recording your how-to lesson. There are two styles of video tutorials to consider– webcam recording and screencasting.
Recording a tutorial using a web camera is ideal for physical demonstrations. Place the web camera in front of your demonstration. You can use an alternate camera to vary the positions and add the video during the editing process.
The second recording option is screencasting. This is the preferred method for video tutorials in the workplace. Screencasting makes it simple for anyone to record their computer screen. For example, human resource professionals can create video tutorials walking employees through the step-by-step process of how to properly file online vacation requests.
Screencasting is inexpensive. Companies like ScreenPal offer screen recording software which allows users to quickly create their own tutorials.
Ready to Record
A basic video tutorial usually features casual, conversational narration.
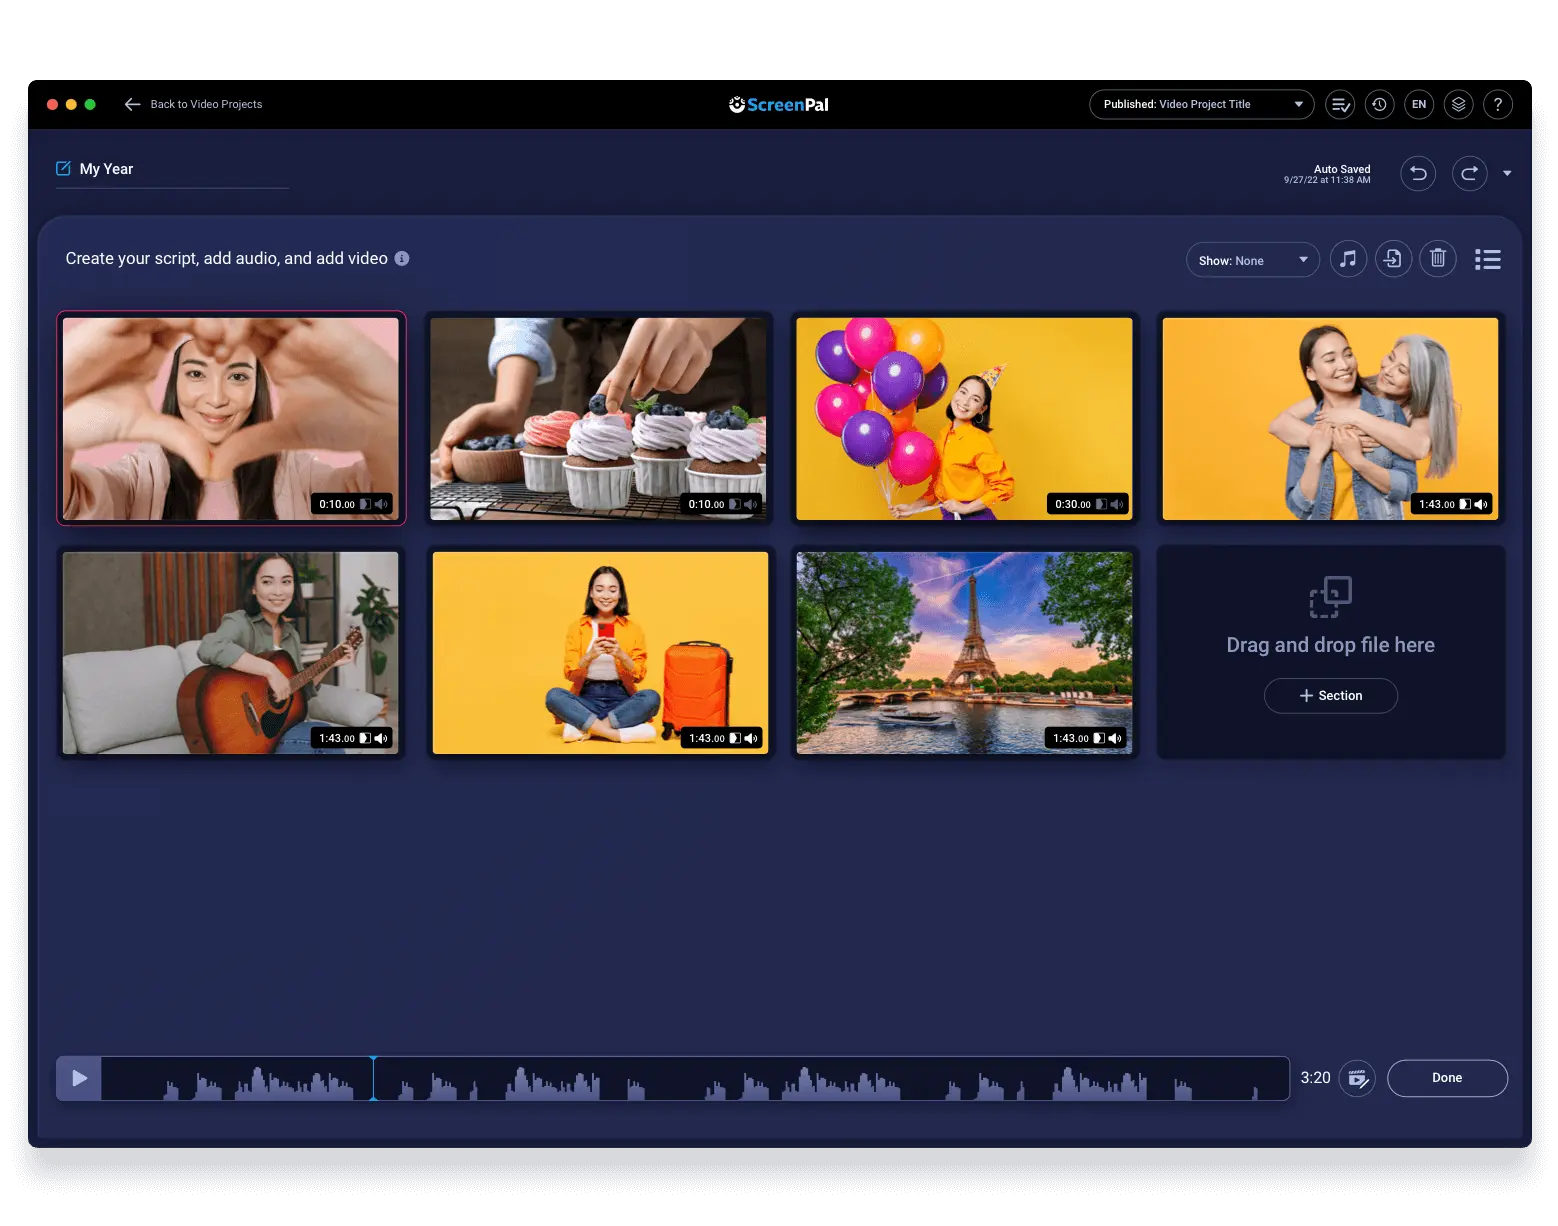
But workplace videos often call for a more professional tone. If you’re creating a how-to video by following a prewritten script or outline, you’ll want to try using the Scripted Recordings feature on ScreenPal. It’s an easier way to organize the content of a video.
Scripted Recordings enables users to copy and paste their script then record narration and video over each section of their script.
Here’s how it works:
- Copy or import a script into the feature. Scripted Recordings will automatically separate the script into organized sections.
- Record your audio narration as you go down through each section of the script. If you make a mistake, you can rerecord the section. The section will highlight in green when it’s ready to record audio.
- Users can click ‘Edit Video’ or ‘Replace Video’ to start recording video over each section of their narrated script.
The Scripted Recordings feature is a genius tool for anyone trying to create video tutorials. For anyone looking to update tutorials, there’s no need to start over. This feature allows users to update their video by selecting a section of their script. They can update the script, audio narration and rerecord video.
Building Tutorials With a Video Editor For YouTube
If you are looking for a simple tutorial that doesn’t require audio narration, you can use simple video editing tools with ease. Here are several highlighted tools to use when creating a fast-paced tutorial.
Cut
Keeping video tutorials short is crucial. Most viewers lose interest after the three-minute mark. So start by making simple edits. Trim unnecessary video by cutting sections of your video.
With ScreenPal, you can choose to trim the start or end of a video. You can also choose the ‘Cut’ tool to cut sections of your video.
Time-Lapse
It’s a common feature used in almost all YouTube tutorials. Workplace tutorials time-lapse anyone typing on a computer screen, searching for files, or waiting for a website to load.
ScreenPal makes time-lapsing quick and customizable. Check out the ‘Speed’ tool. With one click you can speed up or slow down your video at up to ten times the recorded rate. Adjust the rate to fit the pace of your video.
Inserting Previous Tutorials
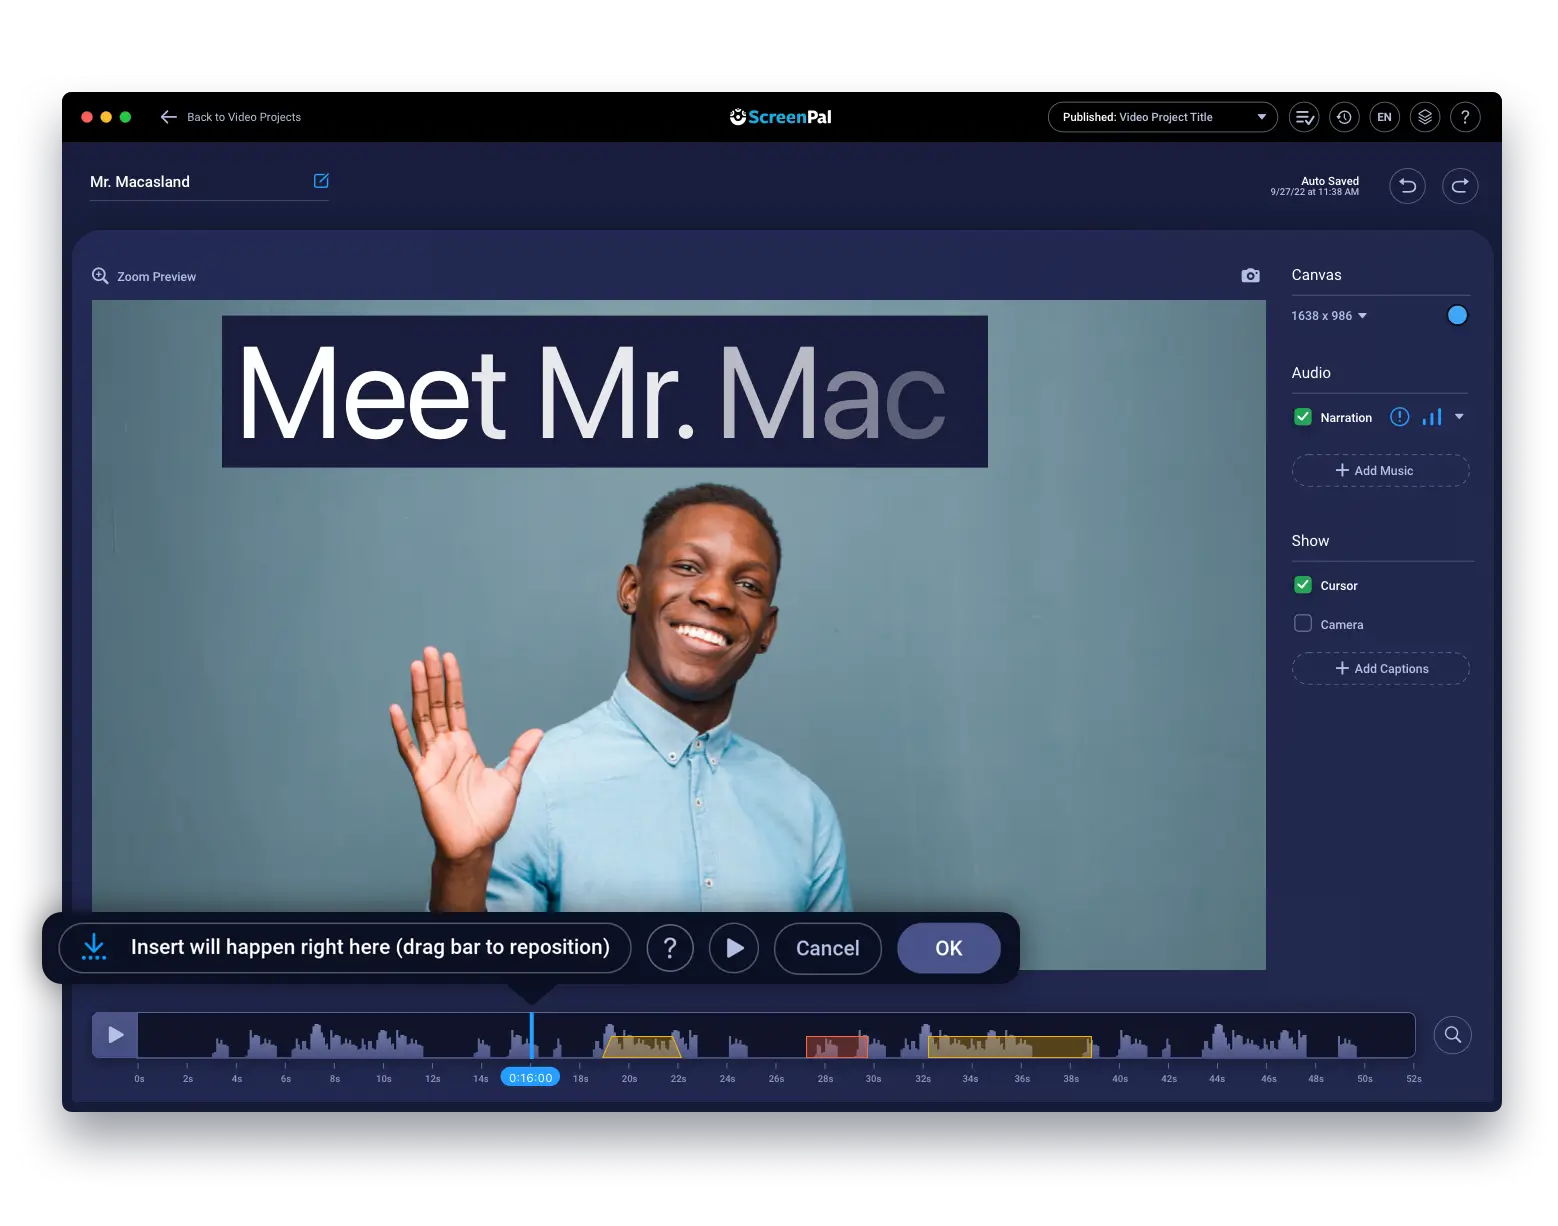
If you’re looking to update a tutorial or want to reemphasize topics, ‘Insert’ is a handy tool to use in ScreenPal. Users can record a simple introduction to a video and then ‘insert’ a previous tutorial they’ve created.
This keeps content fresh and in front of their audience without having to redo an entire video tutorial.
Don’t Forget the Fine Print
There’s an often forgotten, yet important, feature all video tutorials need.
Captions.
Those small words at the bottom of the screen make your video more accessible in more ways than one.
First, depending on the profession, captions might be required within your video tutorial. Captions are essential for videos being published by government offices and in public education. Adding captions ensures that a video tutorial meets ADA standards.
Secondly, captions are crucial for optimizing social media views. More than 80% of viewers scrolling through social media turn off the volume. They are more likely to stop if they can watch a video while reading the captions.
So save time and add your captions in as you edit.
Most free video editing software is designed so users can import a caption file (format .sbv or .srt). However, ScreenPal makes adding captions more user-friendly by offering additional options.
- Users can save time typing and use ‘Speech-to-Text’ technology.
- You can type in your own captions with ‘Blank Captions’
- With ‘Captions From File,’ users can import their own captions file.
- If you create videos with Scripted Recordings, captions are already provided.
Publishing Perfection
All video editing apps and professional video editors offer multiple ways to publish your tutorial. An editing timeline can be exported to a standard video file and uploaded to YouTube, Facebook, or a company’s website. Advanced editors are simplifying the process. For example, videos created with ScreenPal can be uploaded directly to YouTube, Vimeo or shared on social media accounts.